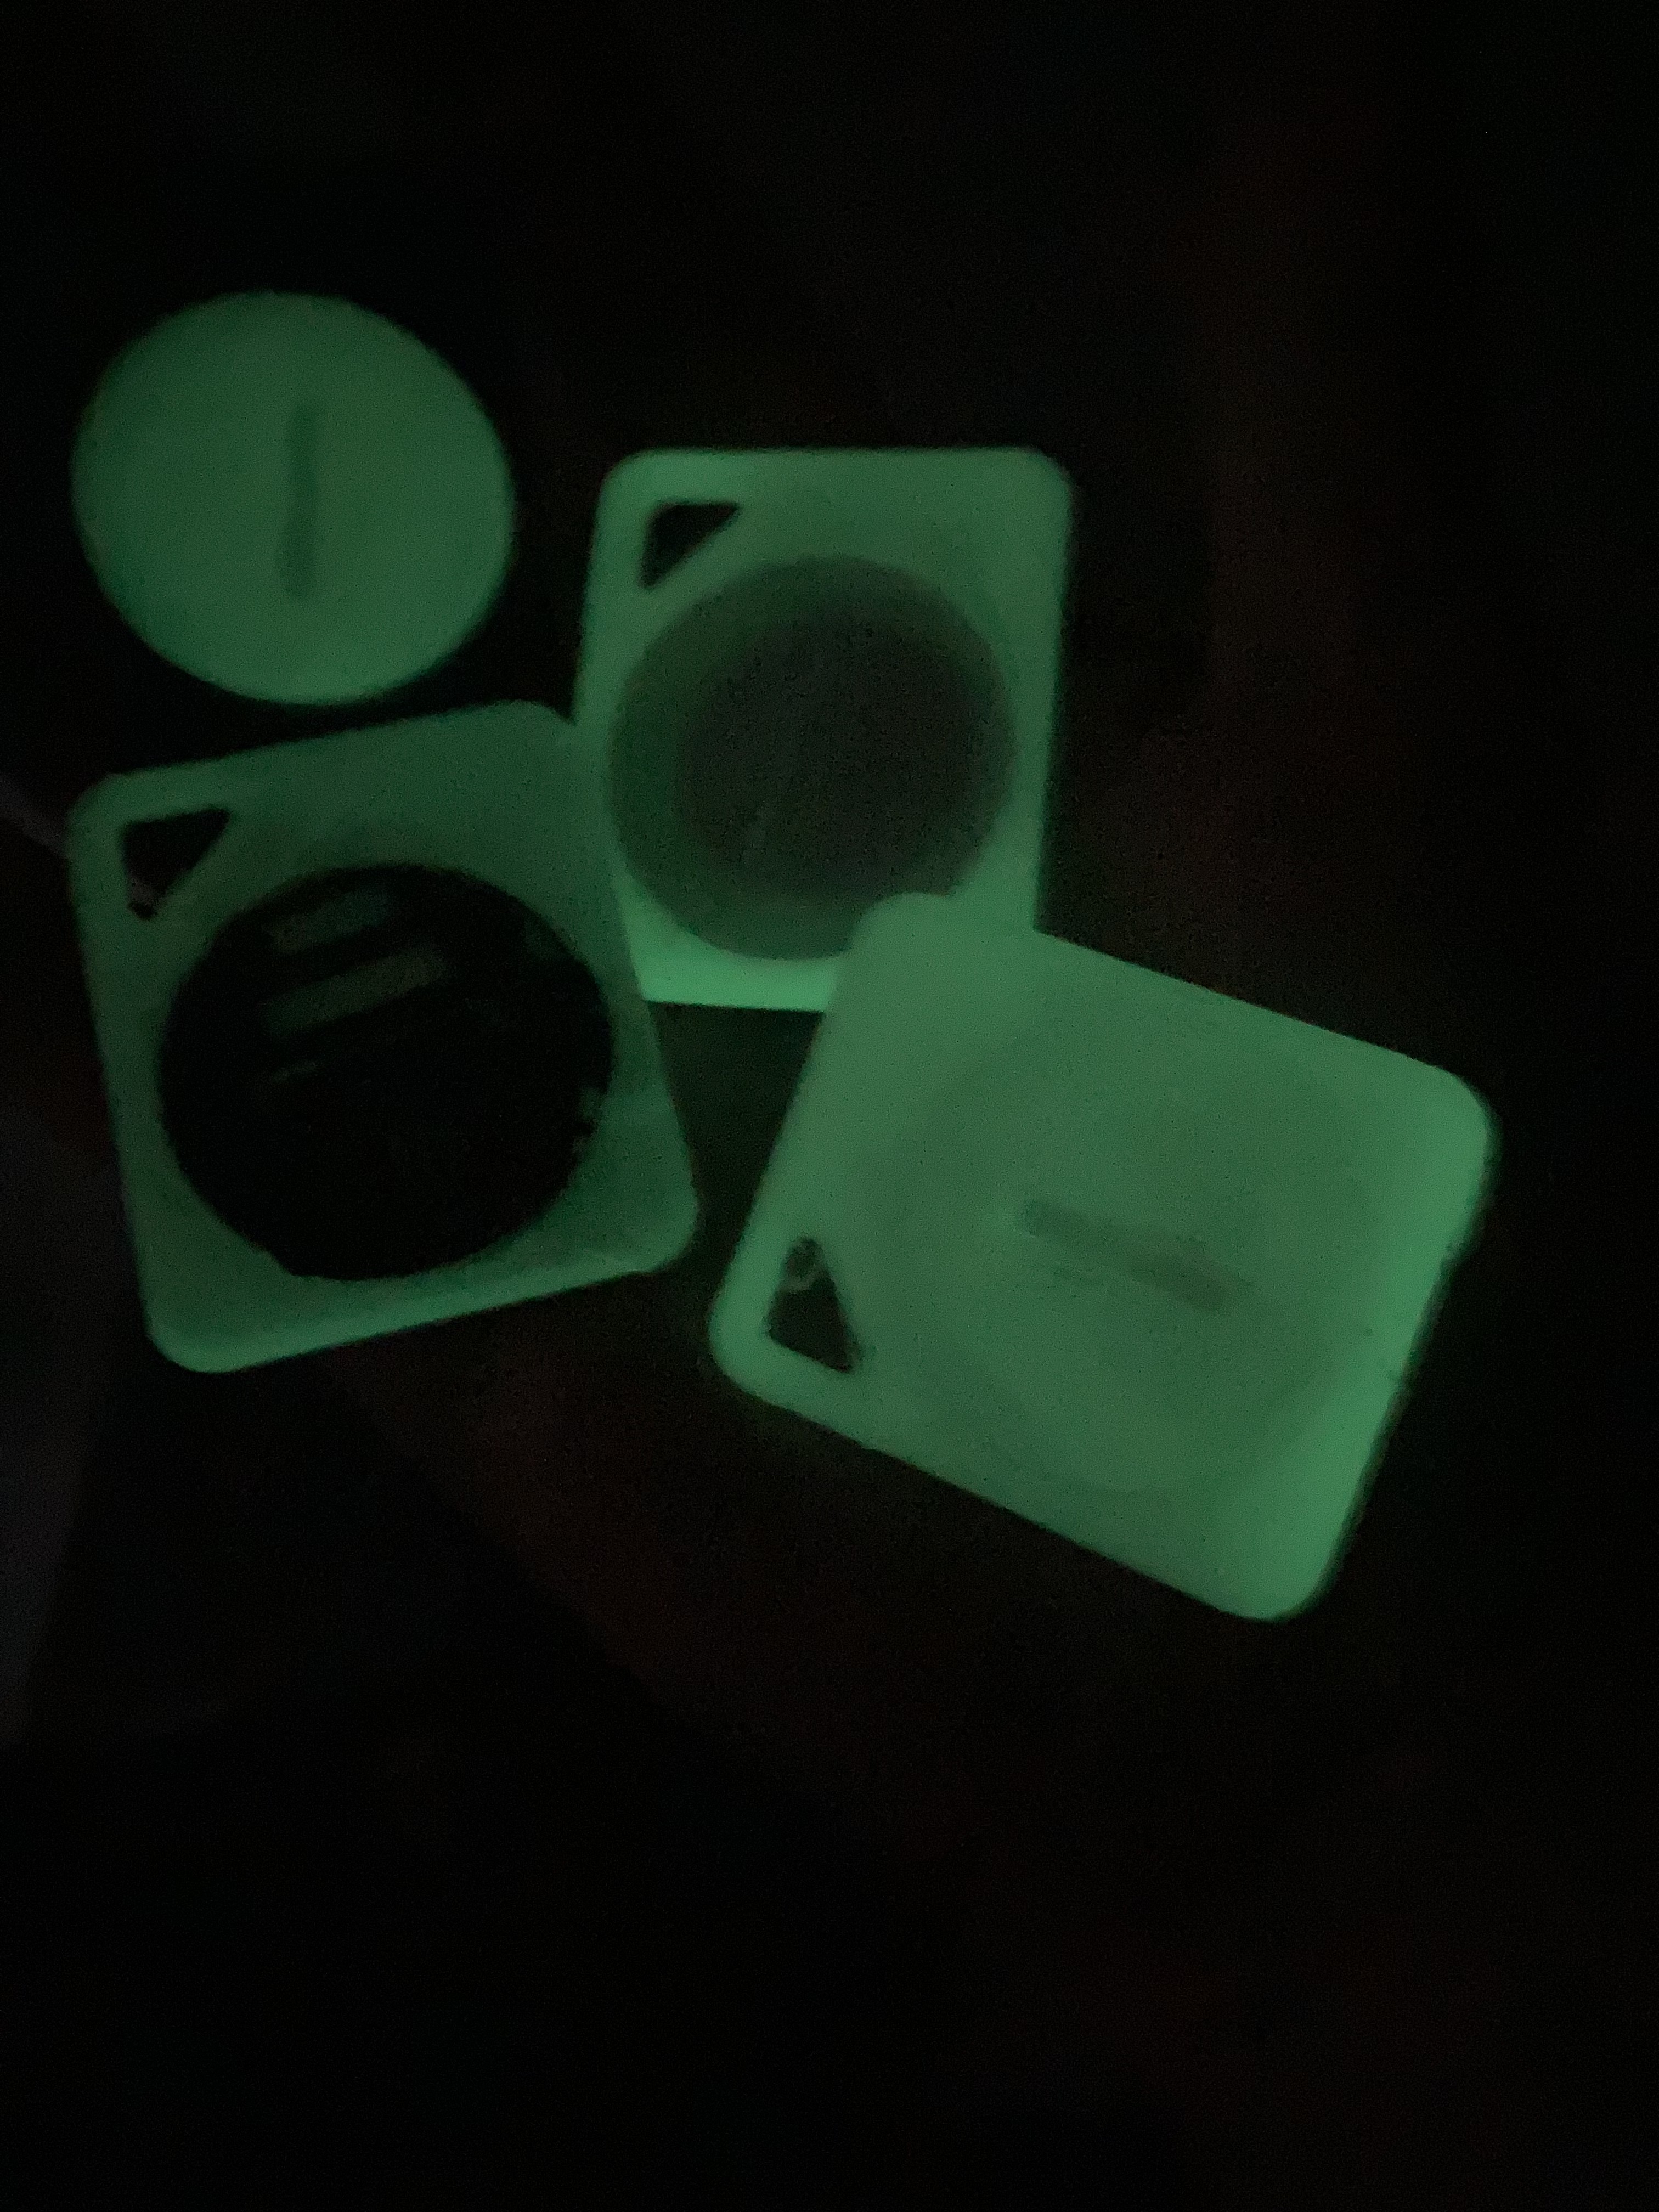
Glow-in-the-Dark Tags
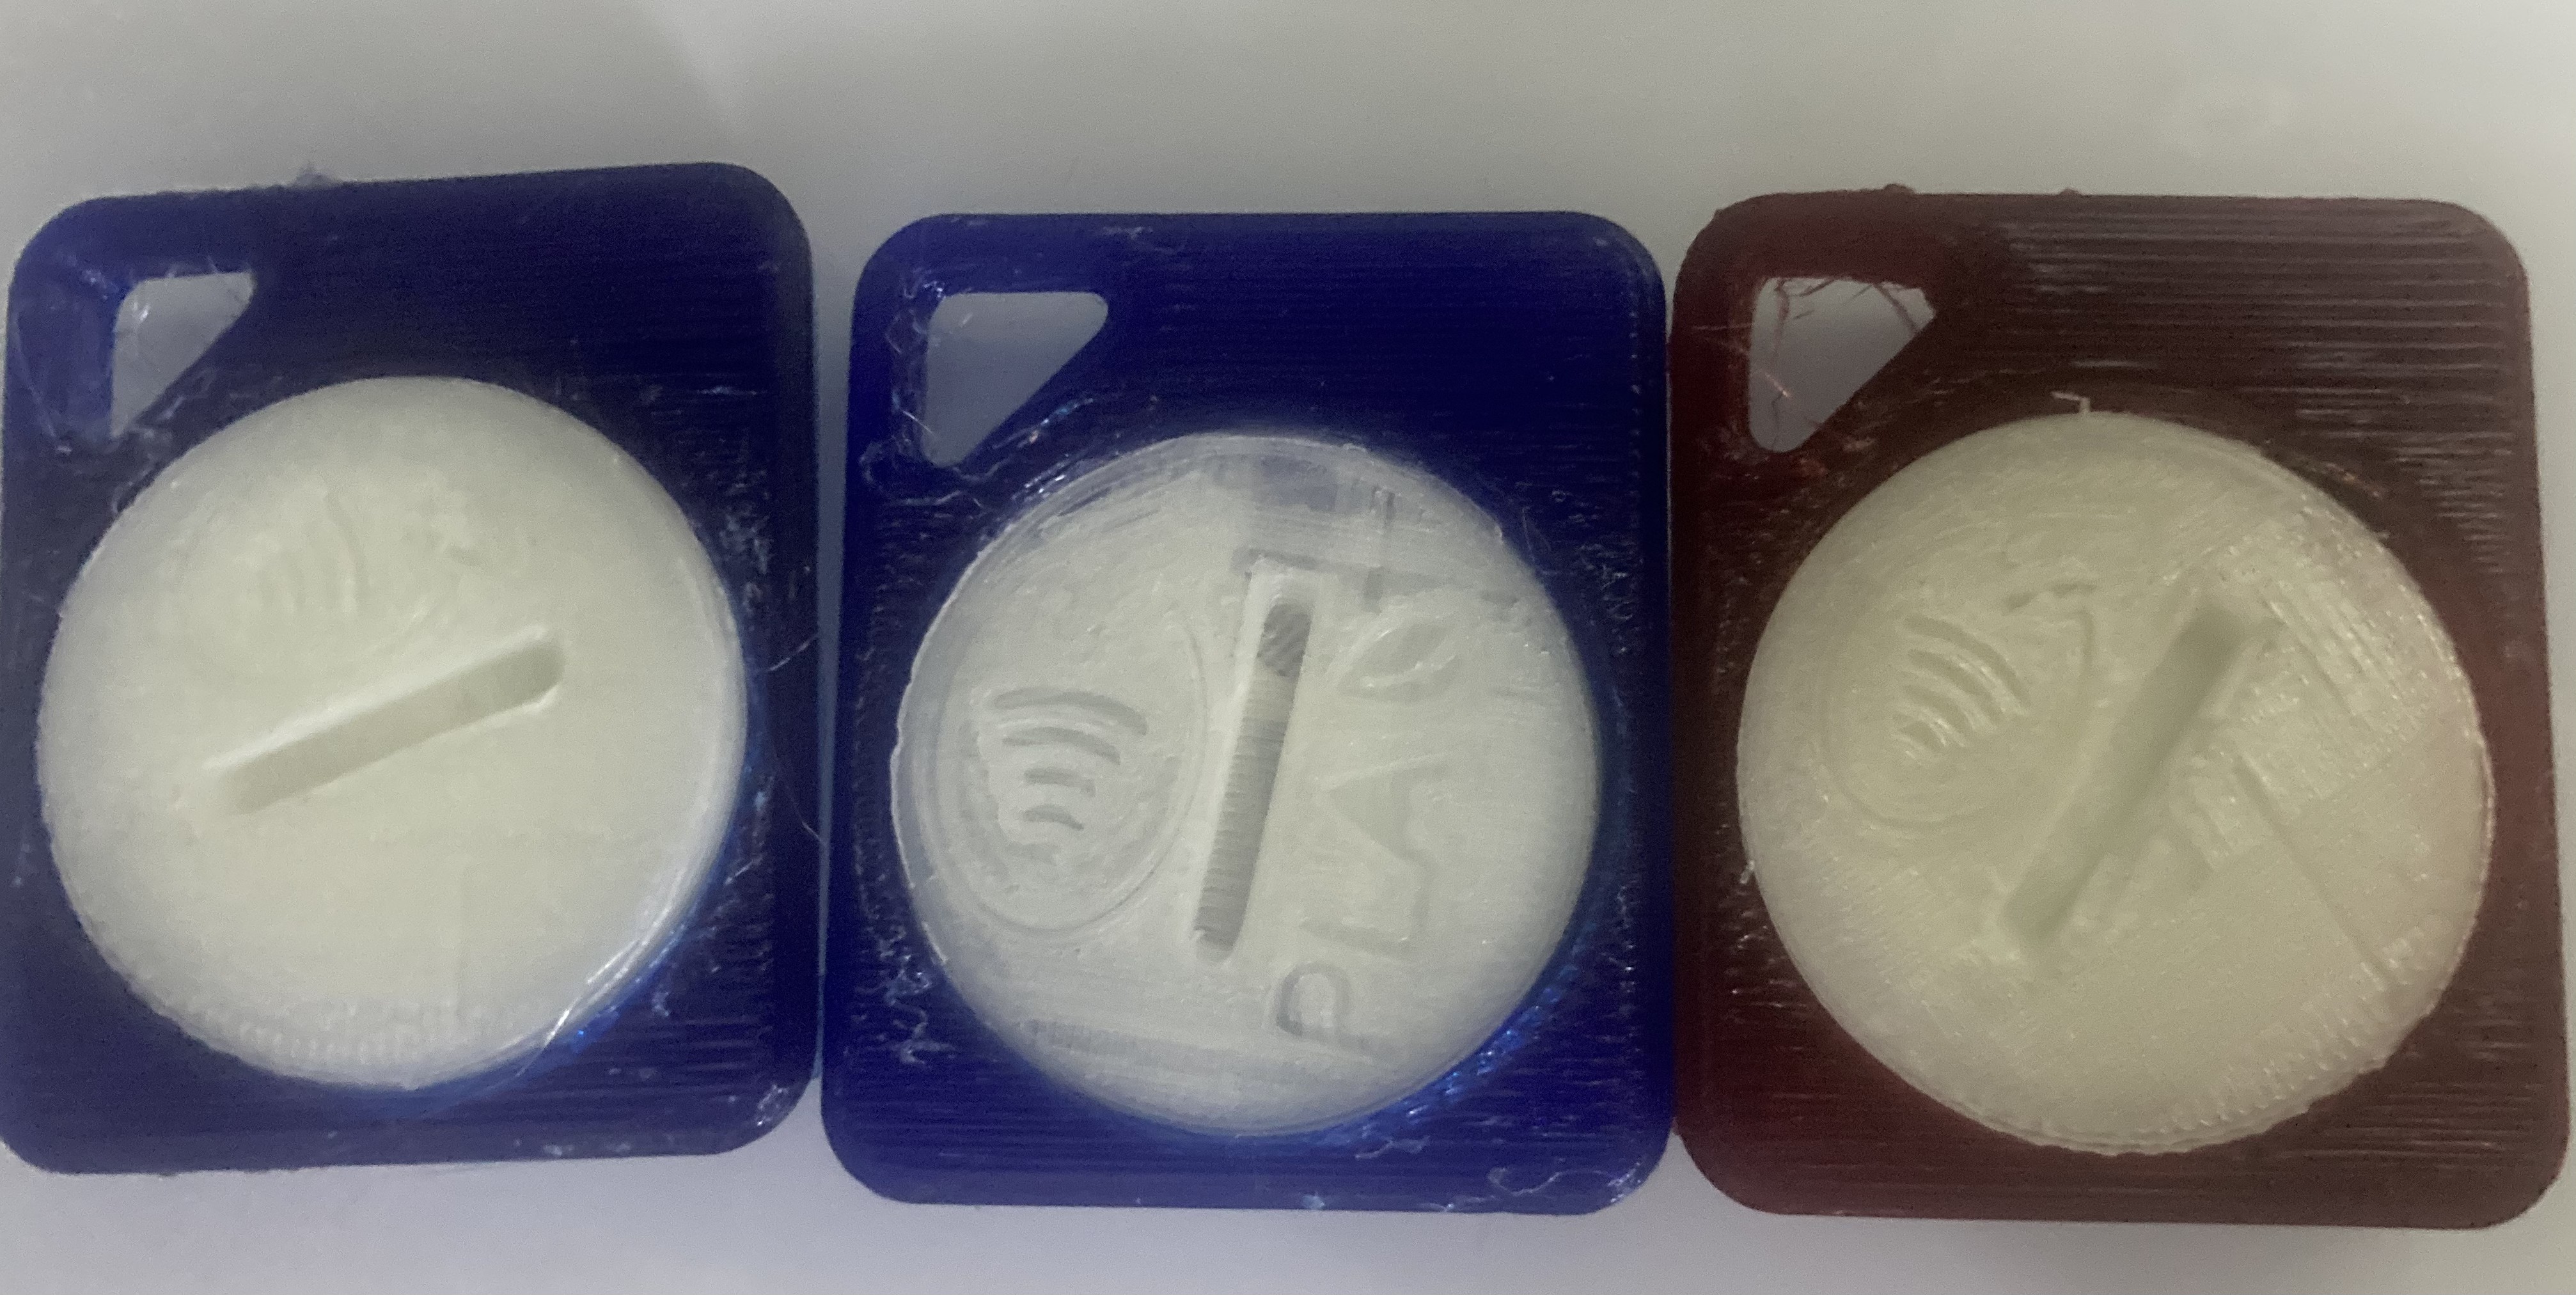
Back of tags displayed with Overture Glow-in-the-Dark PLA.
Showcasing learning and outreach projects.
Glow-in-the-dark (GITD) NFC tags designed to promote non-profits.
All models contain tags programmed to SeattleCommunityNetwork.org.
Key takeaways from fabricating material for a non-profit:
1. Printing logos facing down on the print bed results in a significantly cleaner product.
2. Small 3D printed "trinkets" are abundant nowadays. Printing practical or unique materials, such as GITD filament, seem like a better way to stand out.
3. Manually pausing and changin filament tends to lead to "purges" that ruin models. The long term solution will be to debug why my Ender3's firmware fails to pause during M600 commands. My temporary solution is to add extra squares to the print where I can safely pause without damaging the main models.
Resources:
SCN website
Back of tags displayed with Overture Glow-in-the-Dark PLA.
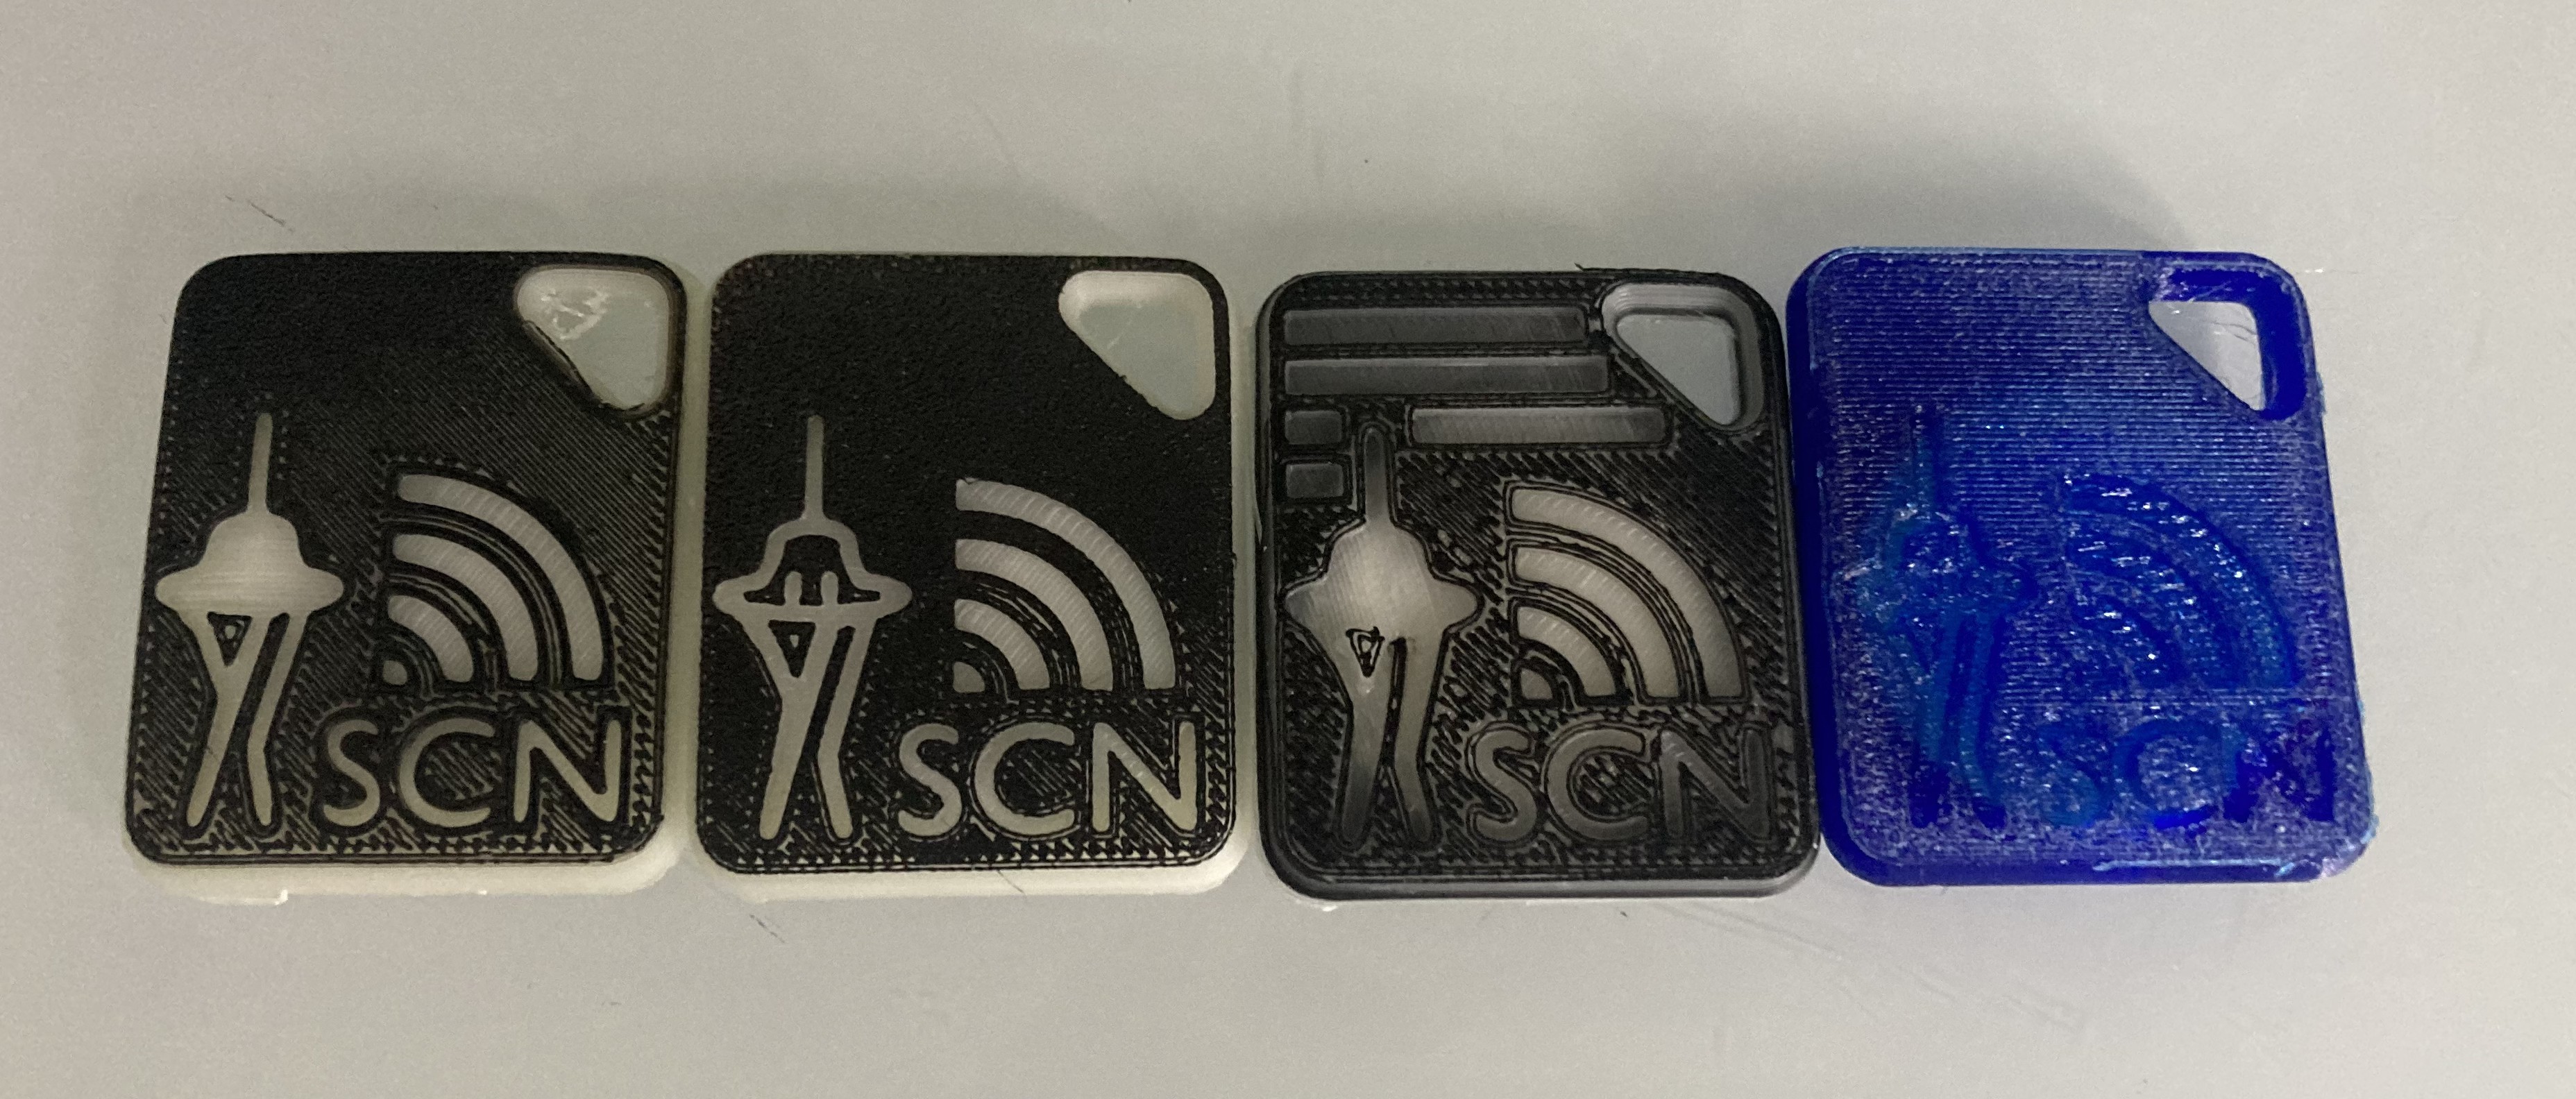
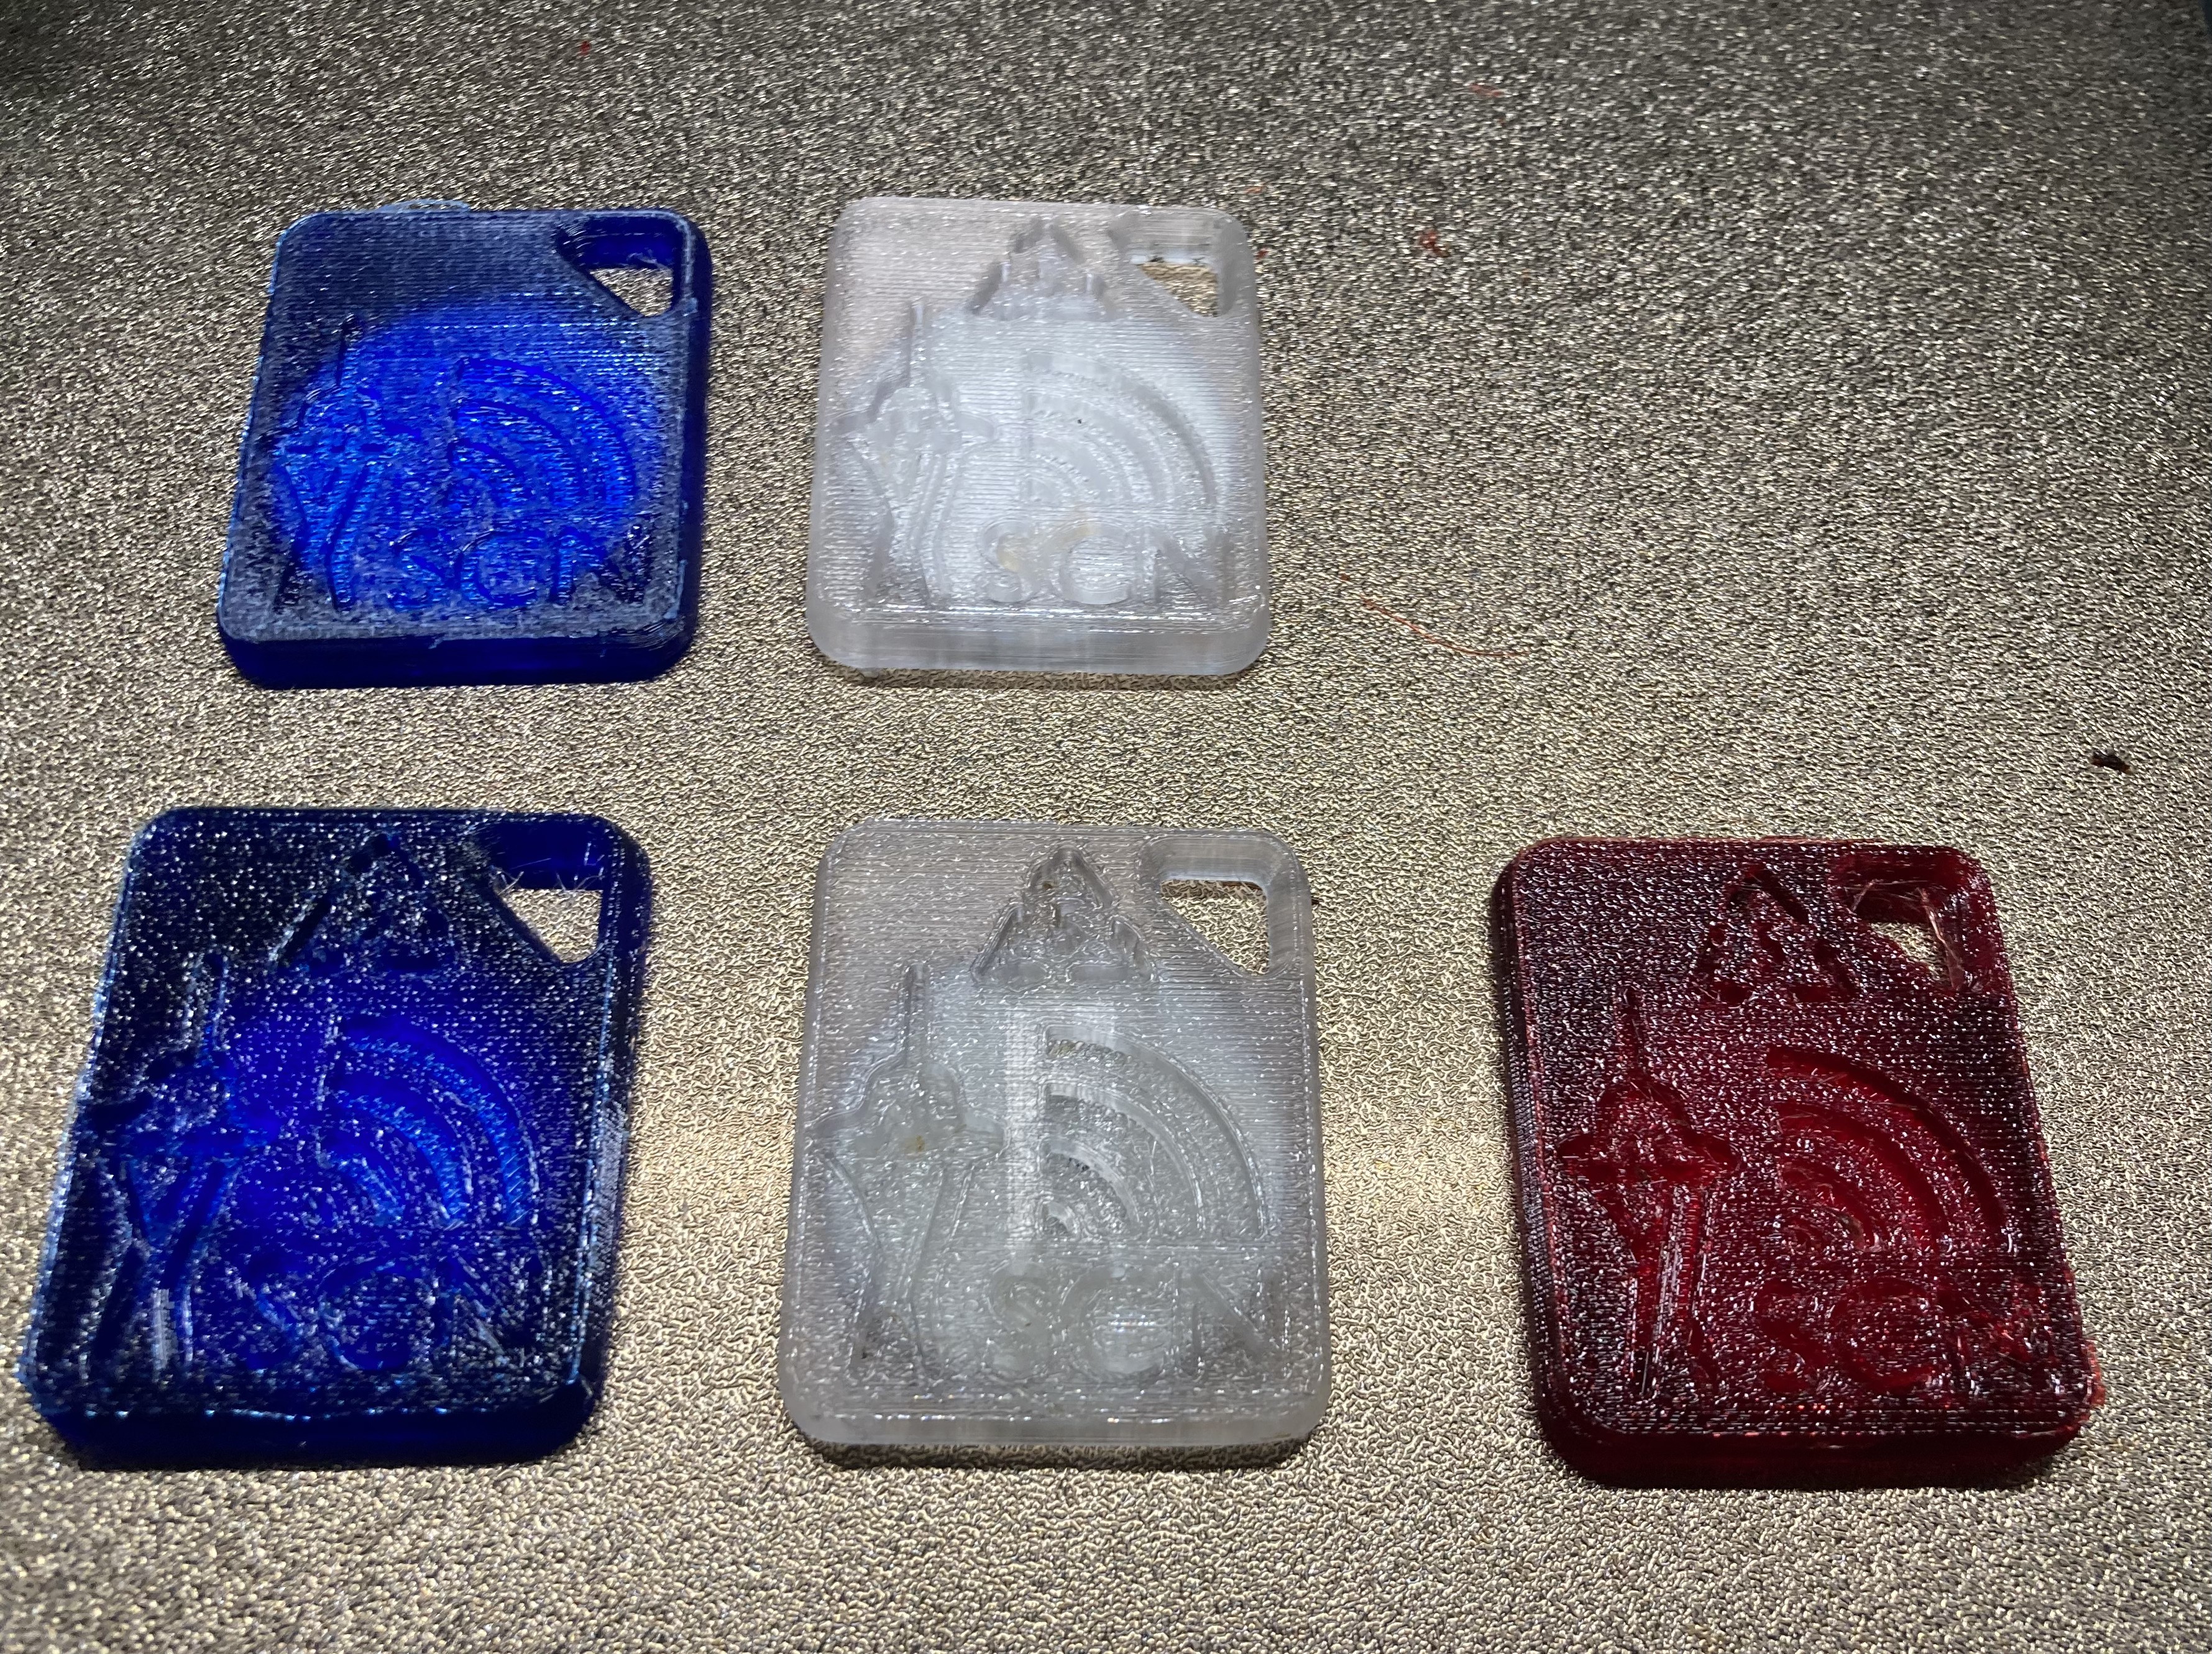
Front display of black/GITD PLA and transparent blue PETG.
Print with GITD as the base layer. This will retain less glow since most of the filament is regular black PLA.
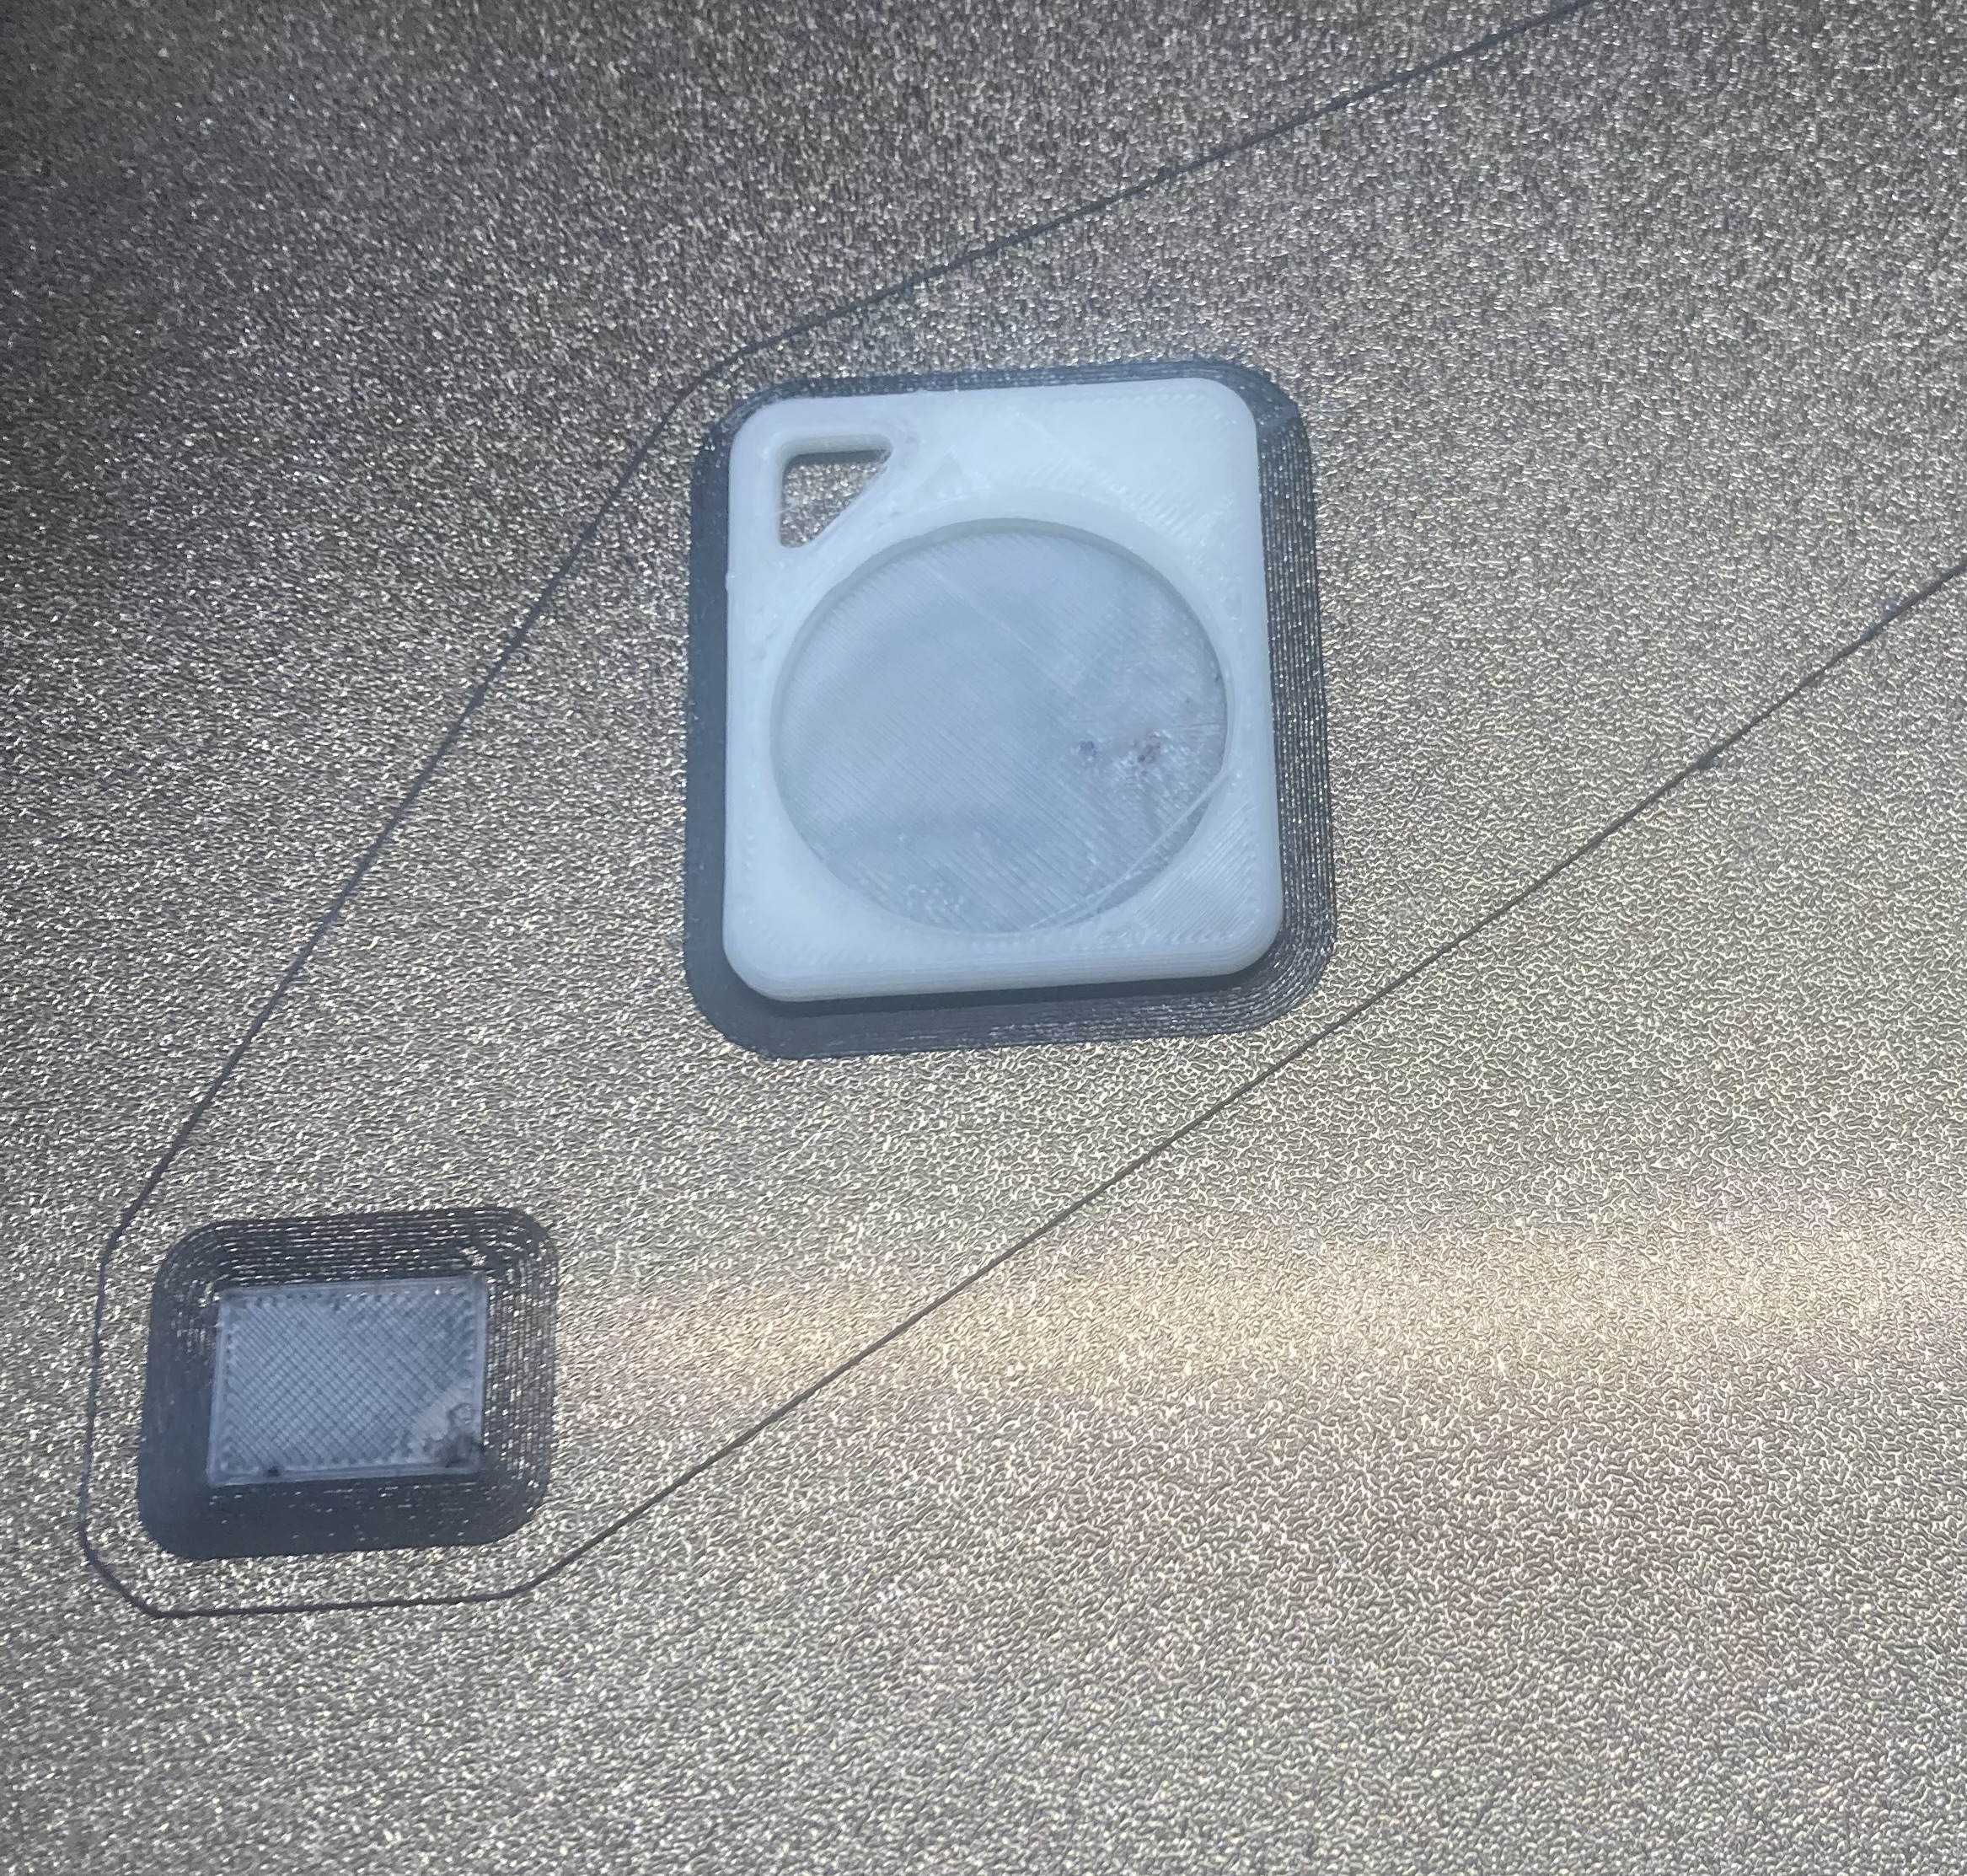
Example of the squares I add to prints in order to avoid damaging the main model during manual filament changes.

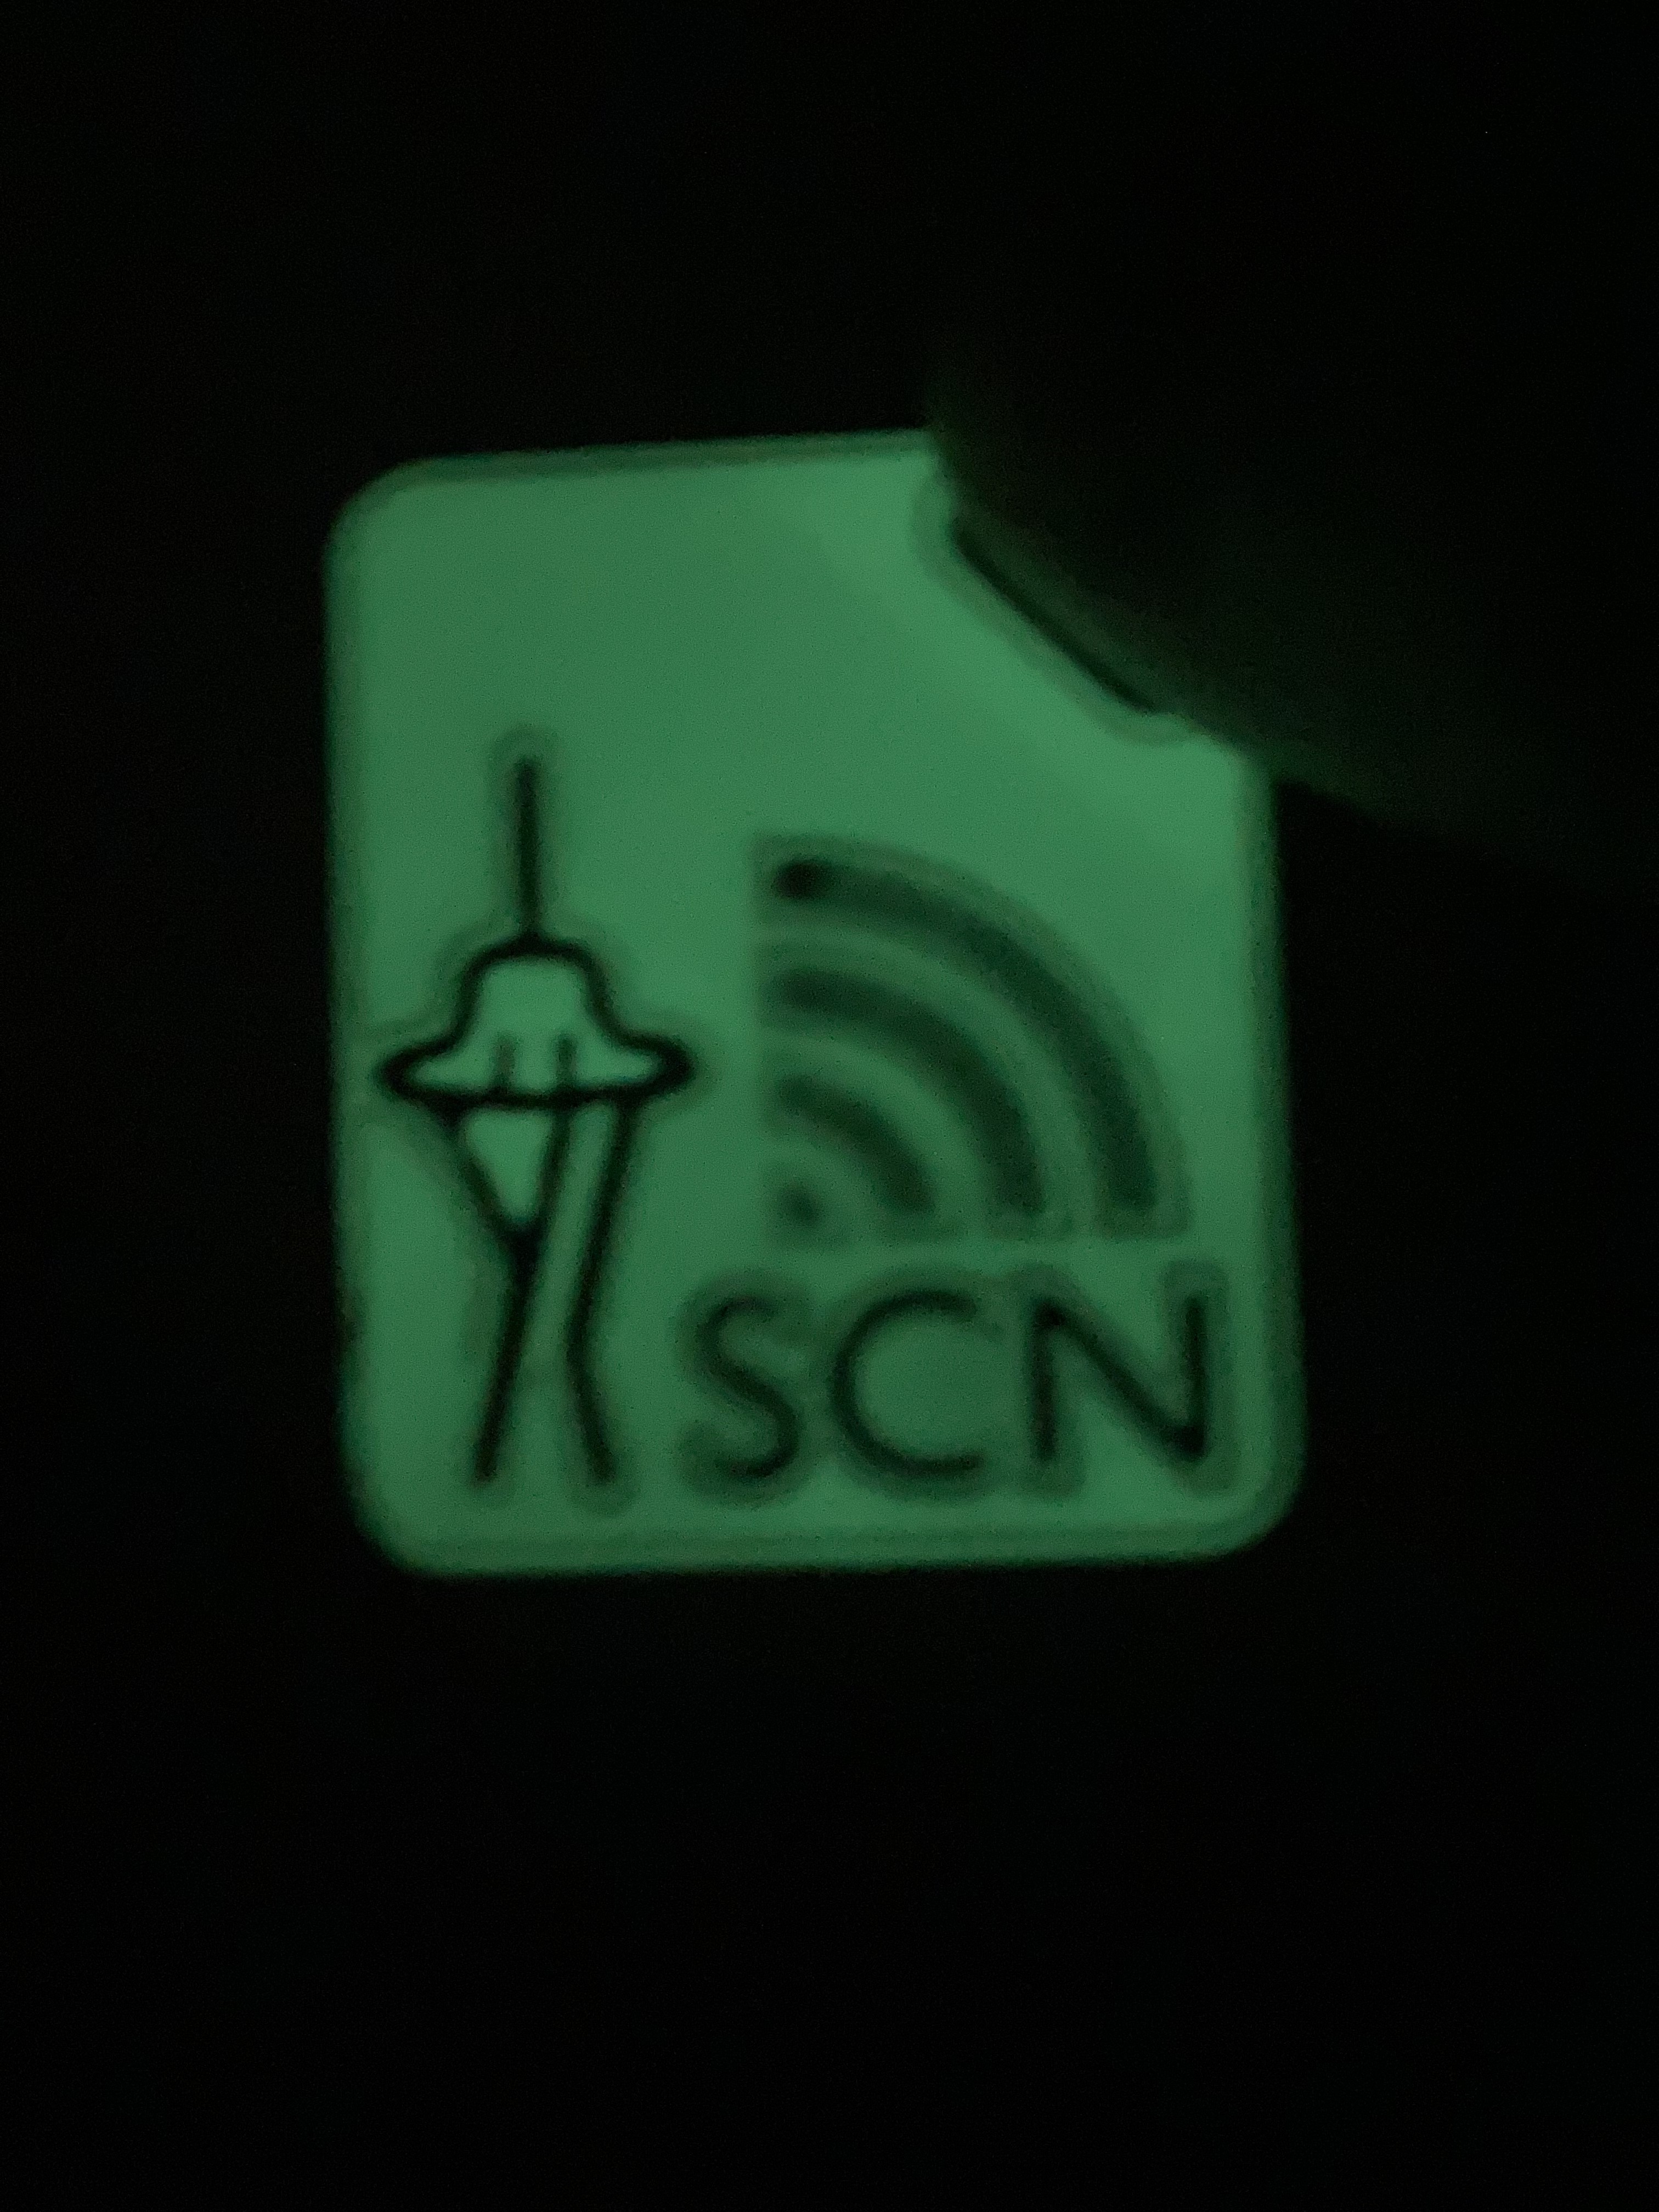
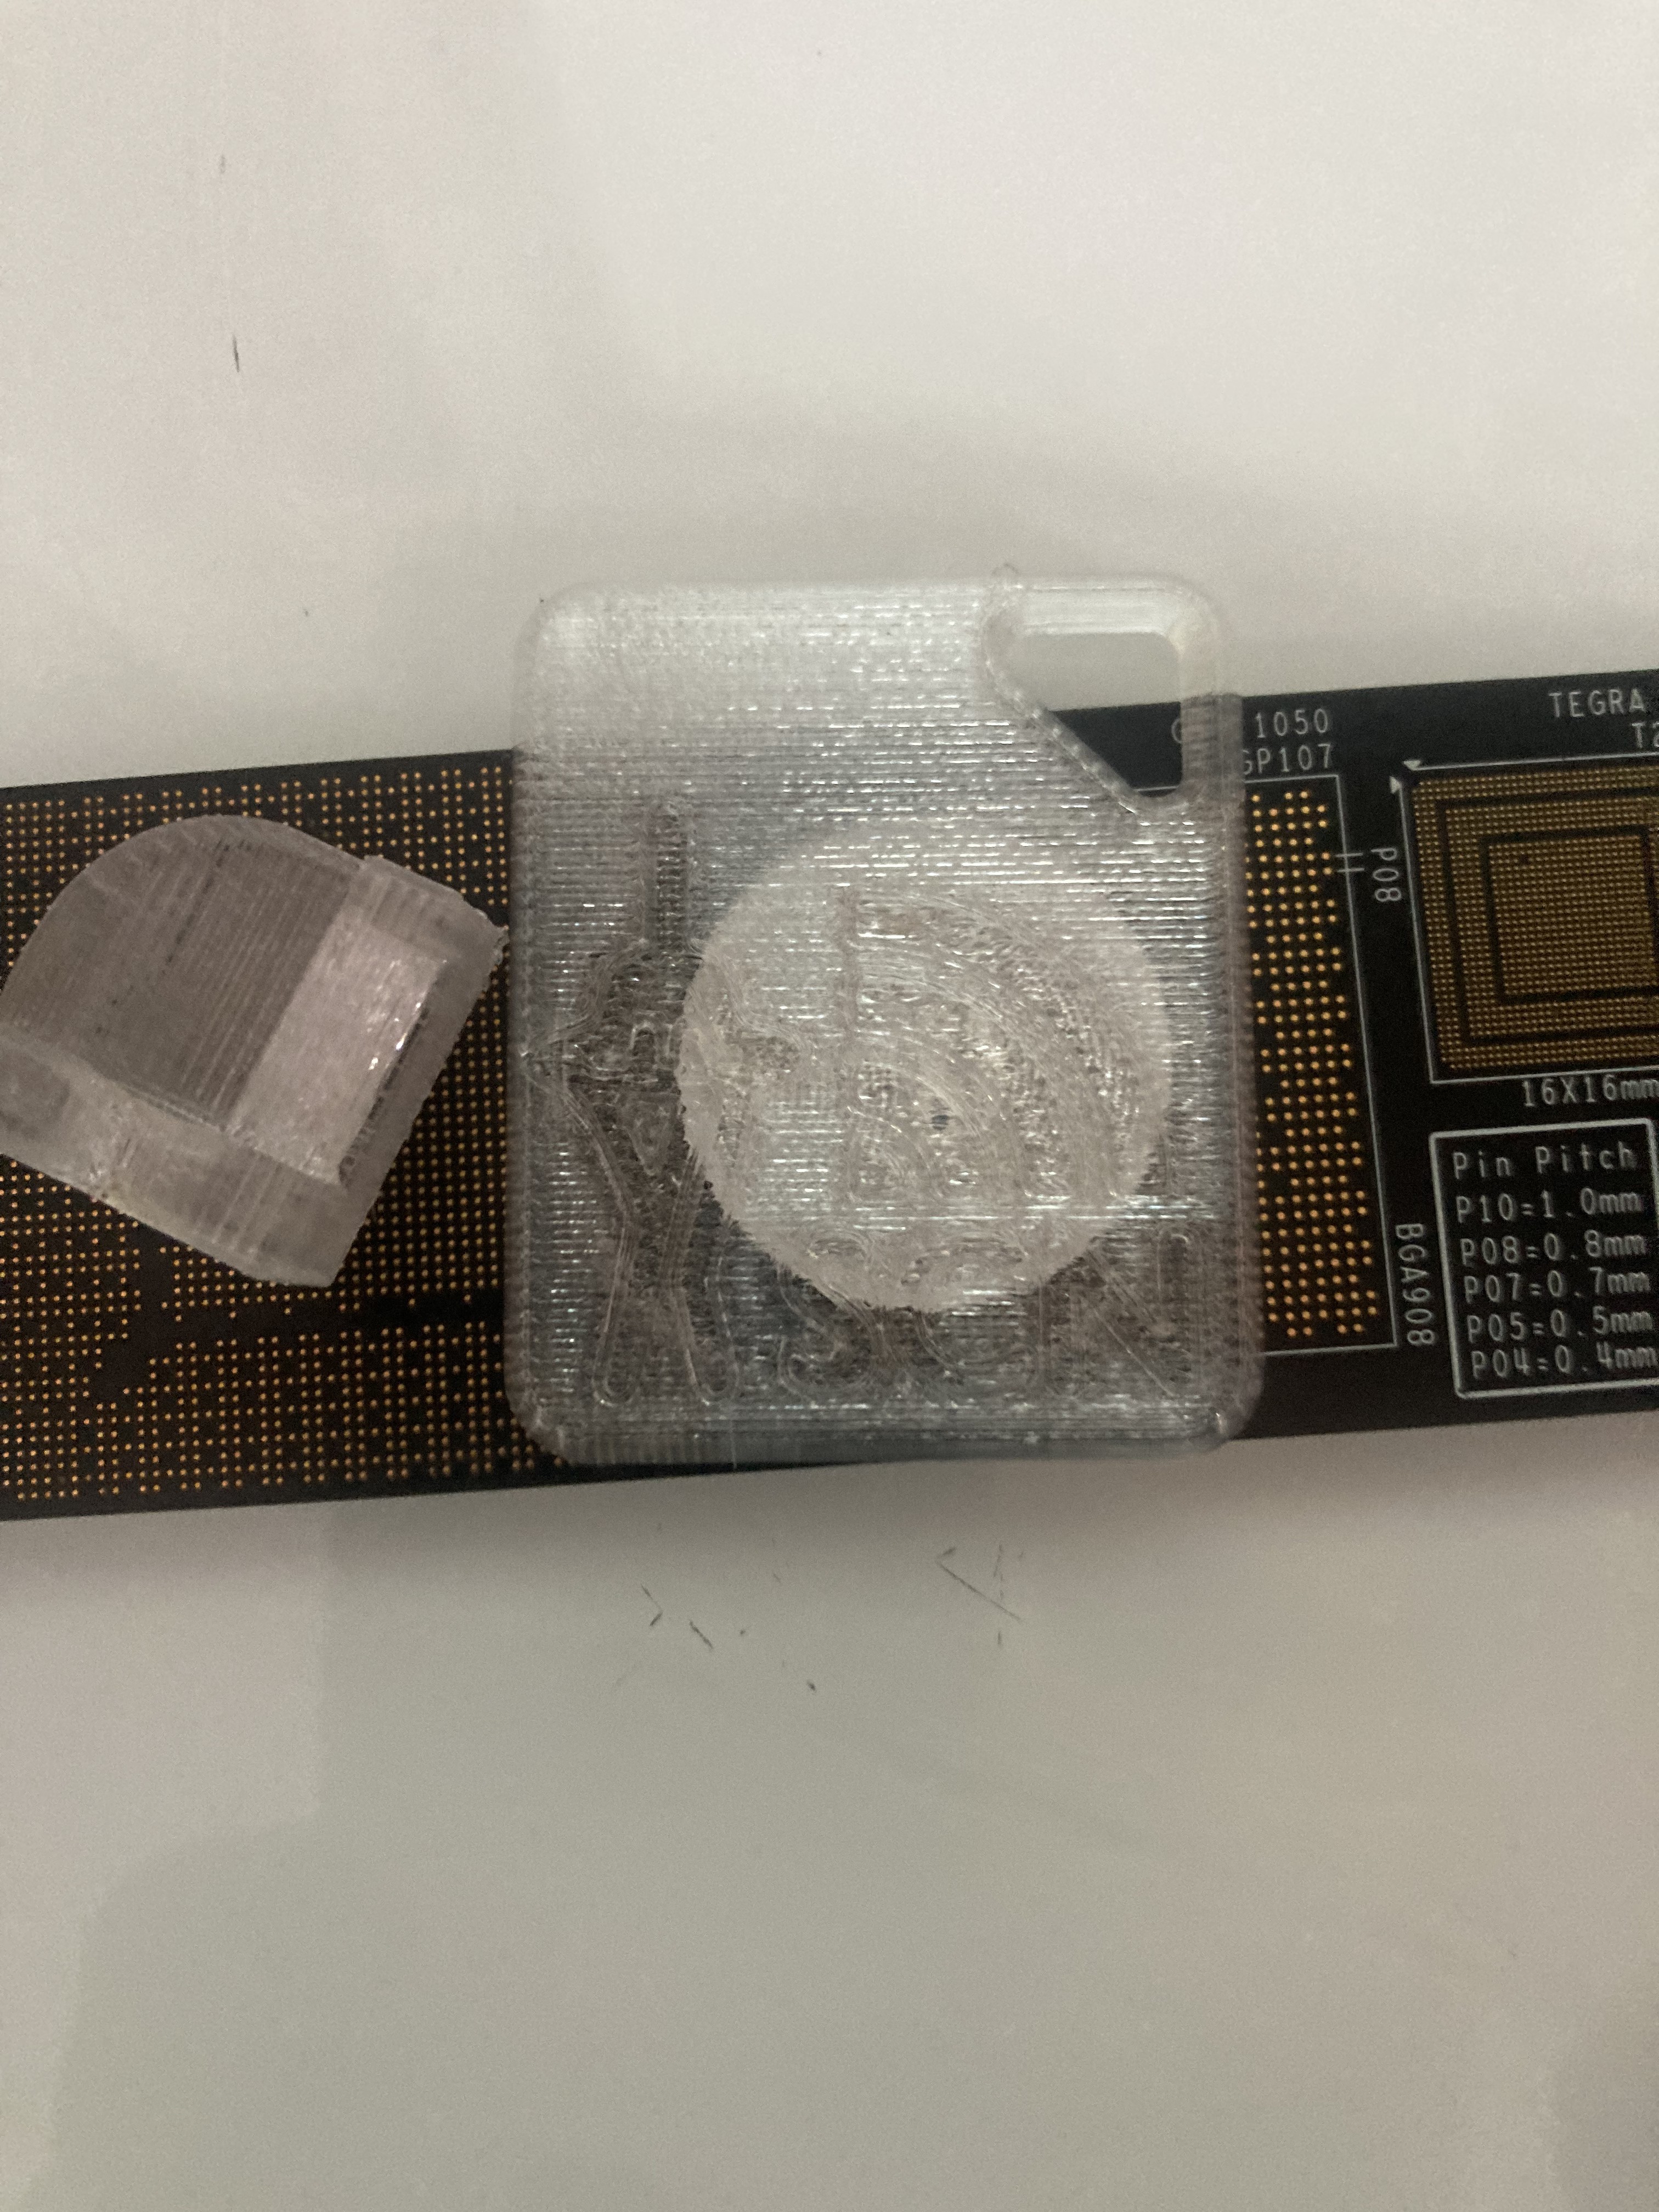
Tranparent PETG shell with a glow-in-the-dark PLA center, providing a diffused glow and better durability.
A photo showing how visible the NFC tag and GITD PLA are through clear PETG.
Writing urls to NFC tags and taking additional measures for security.
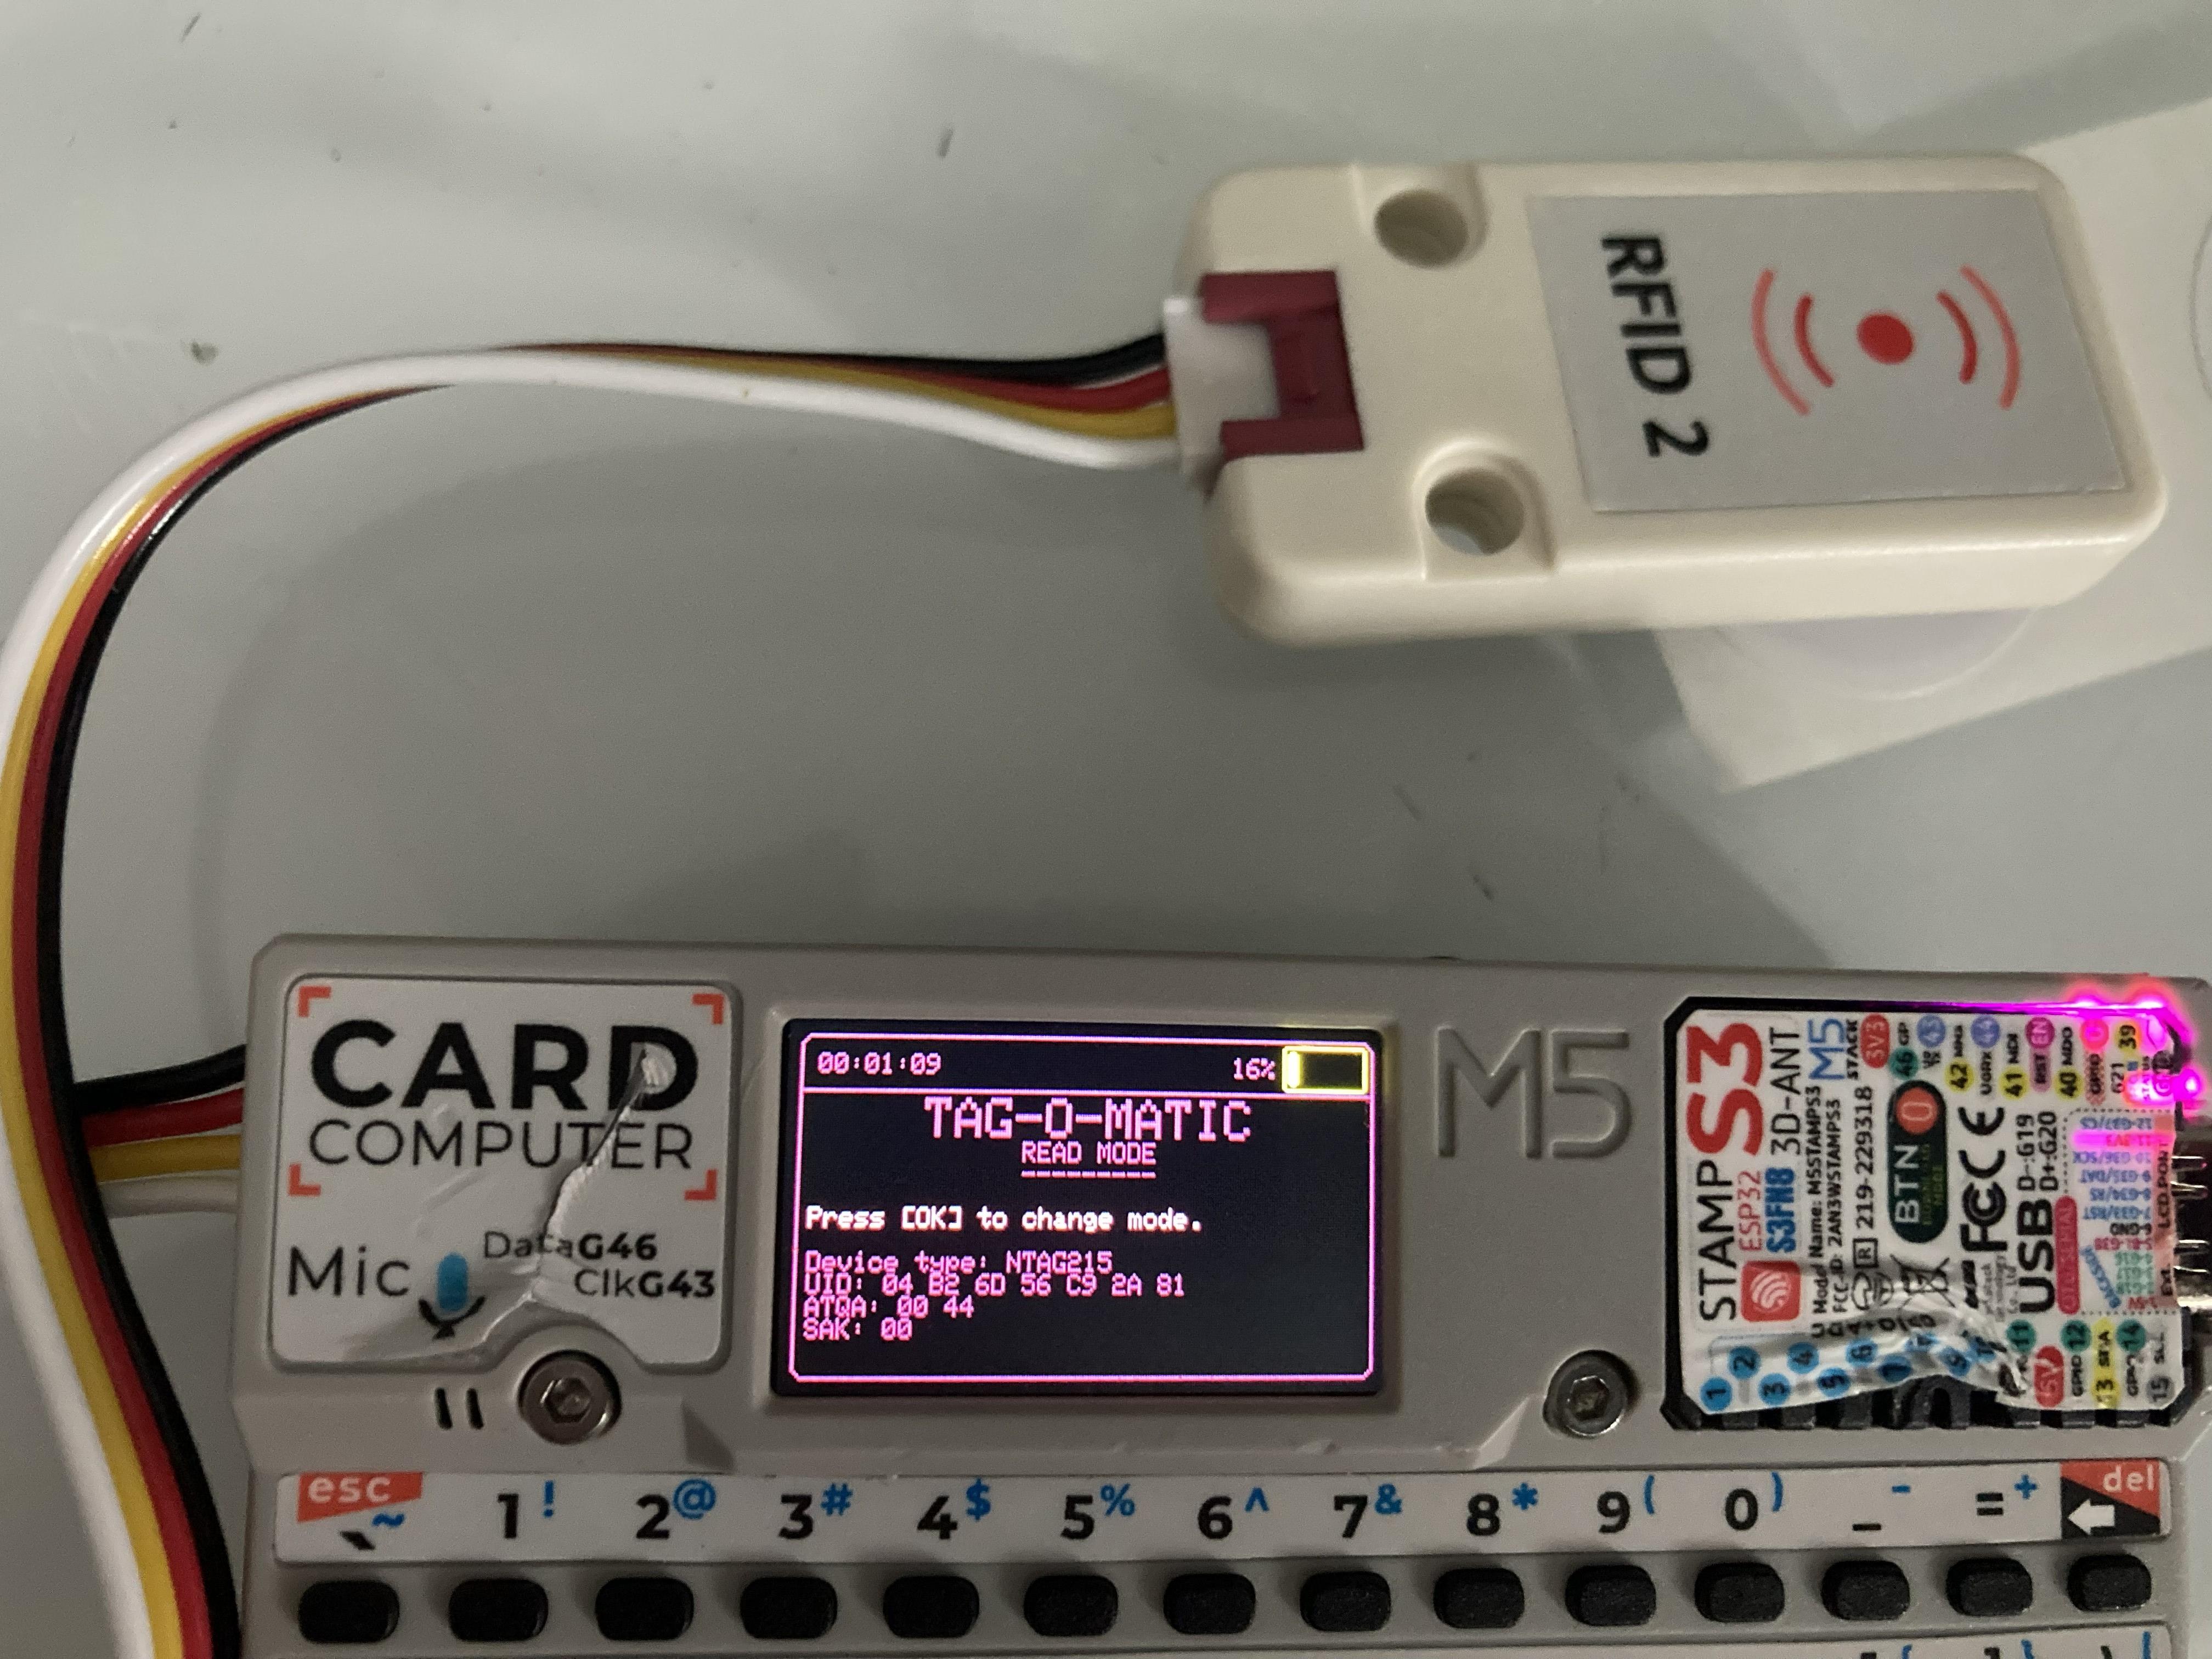
Writing to tags using a M5Stack Cardputer with RFID/NFC module.
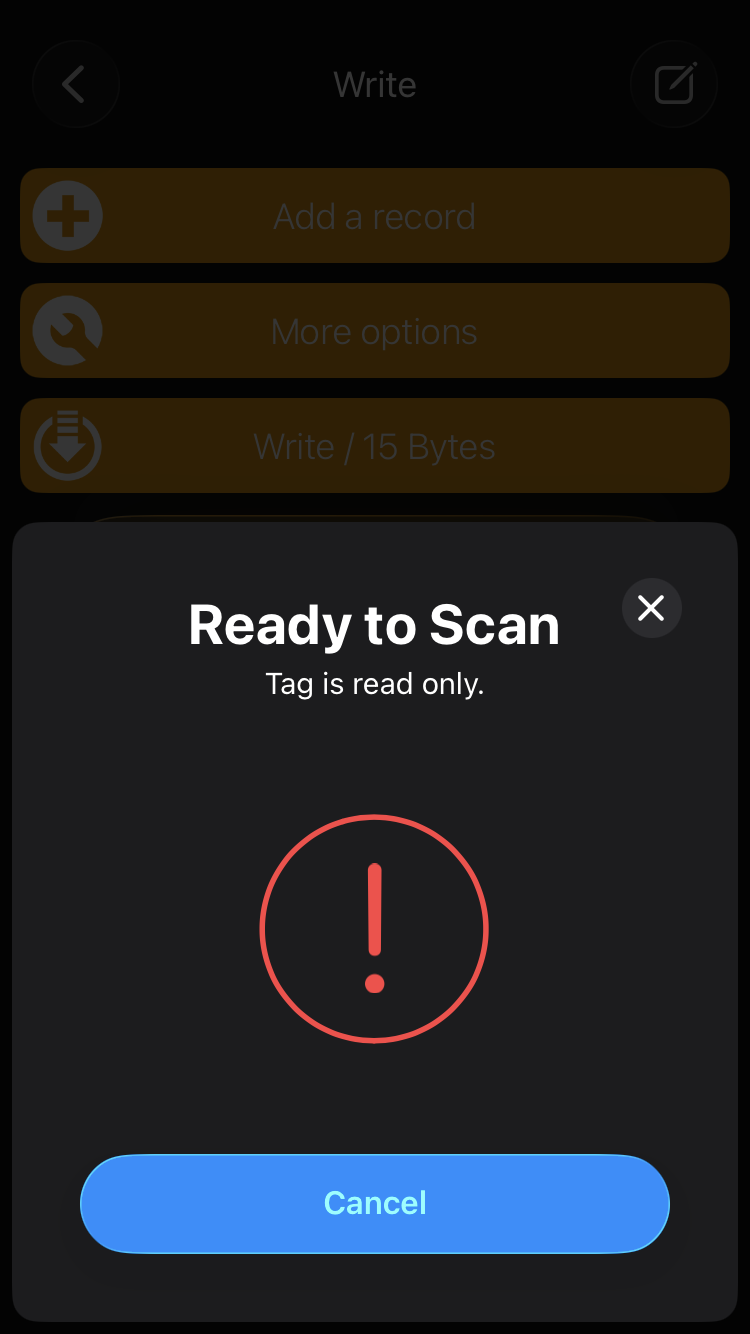
Locking tags to reduce the probability of bad actors rewriting the tags later.
Three tags locked to test out security limitations.
Initially I tried to print QR codes to promote SCN. However, getting a proper resolution with a 0.4mm nozzle is not practical considering the size of the tags.
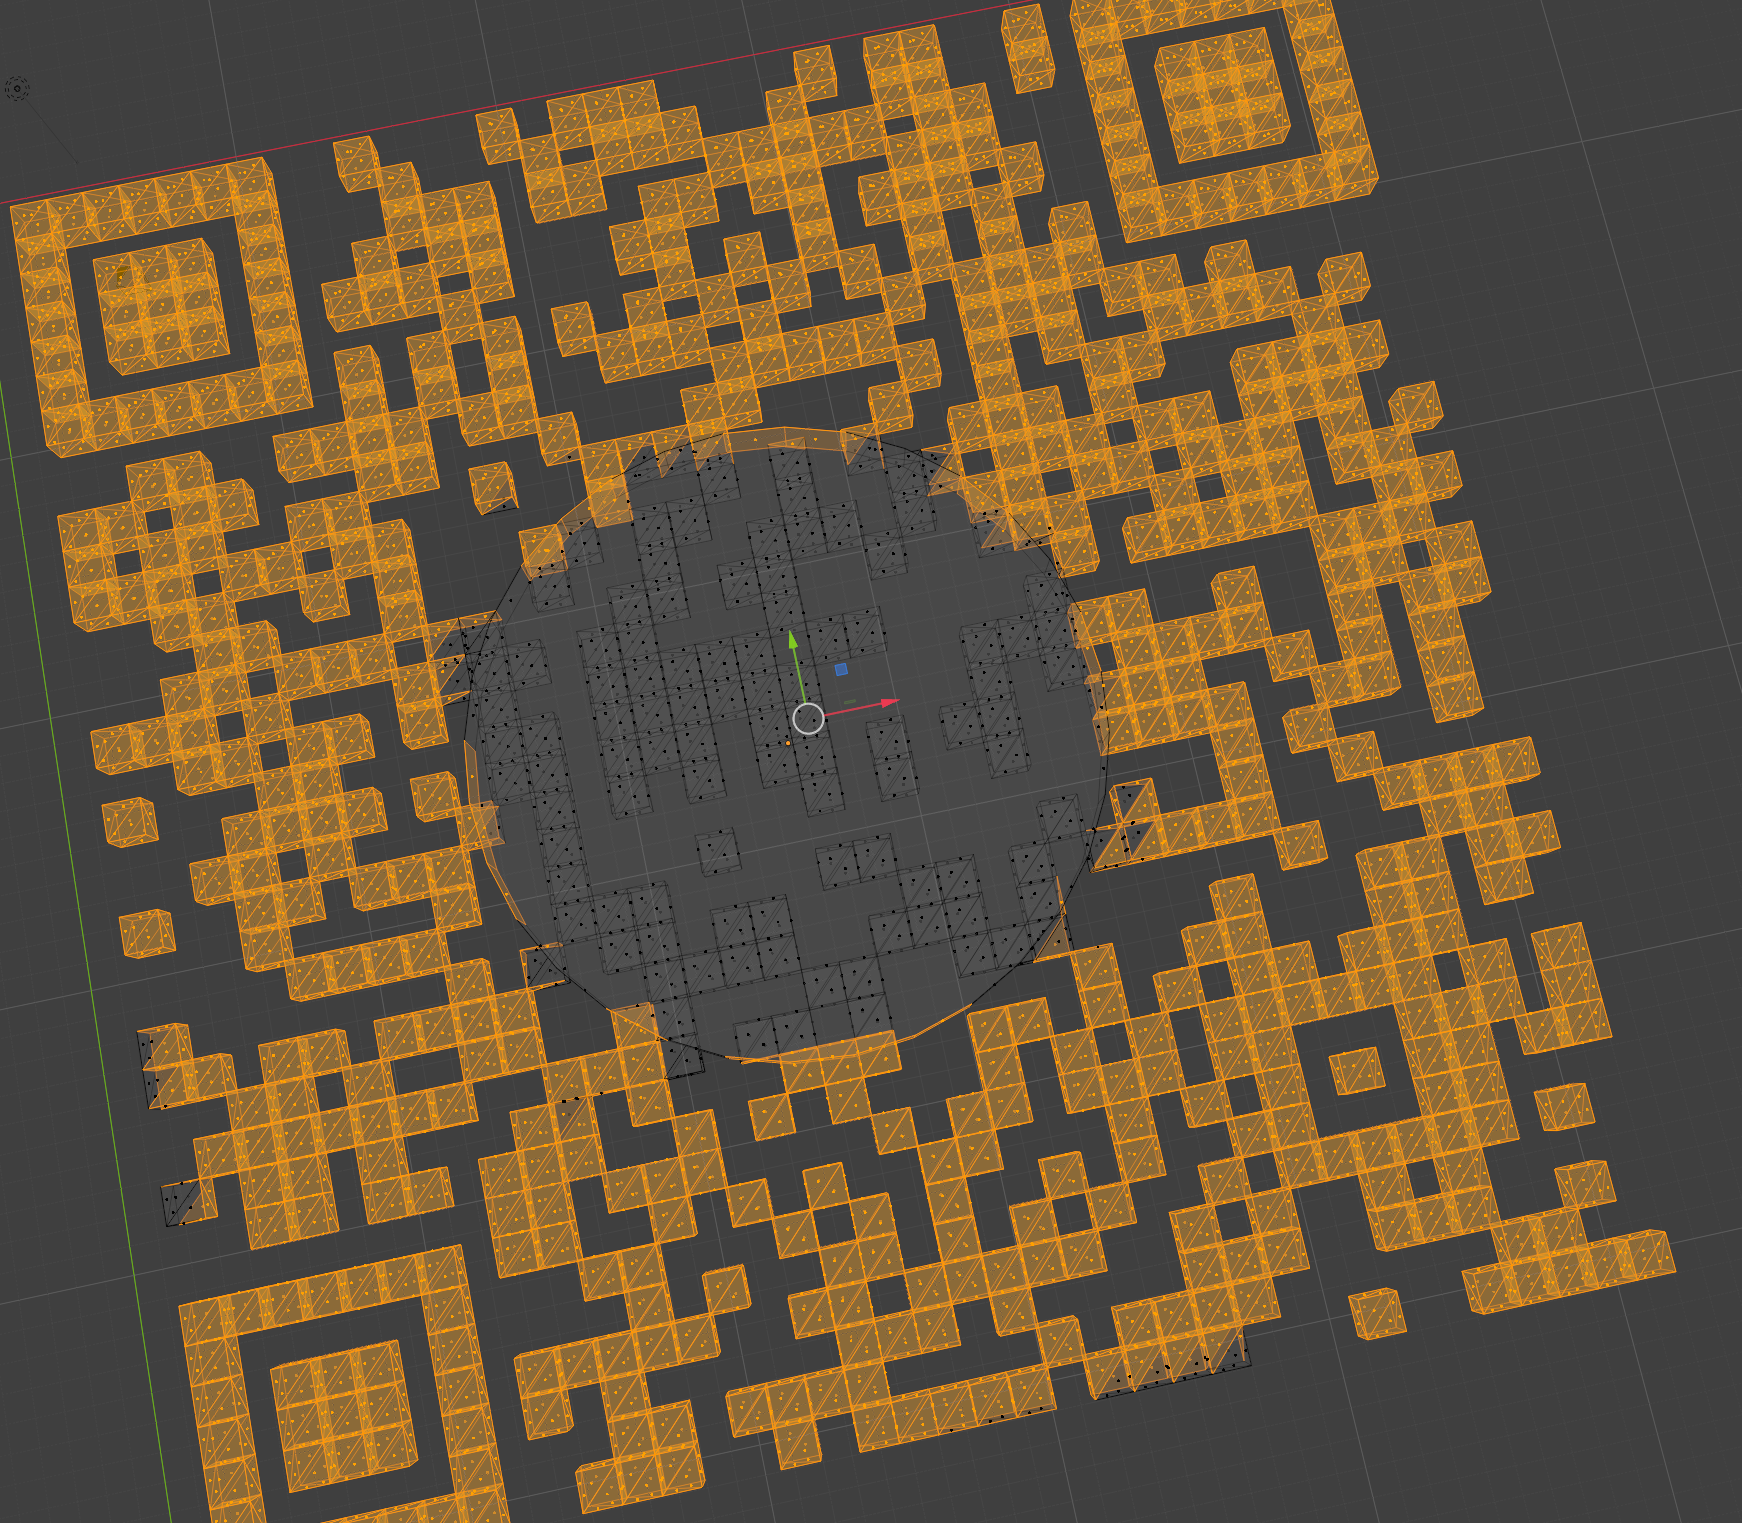
QR codes were generated as SVGs with Python QR code library and 30% error. The center mesh was manually removed in blender to add logos.
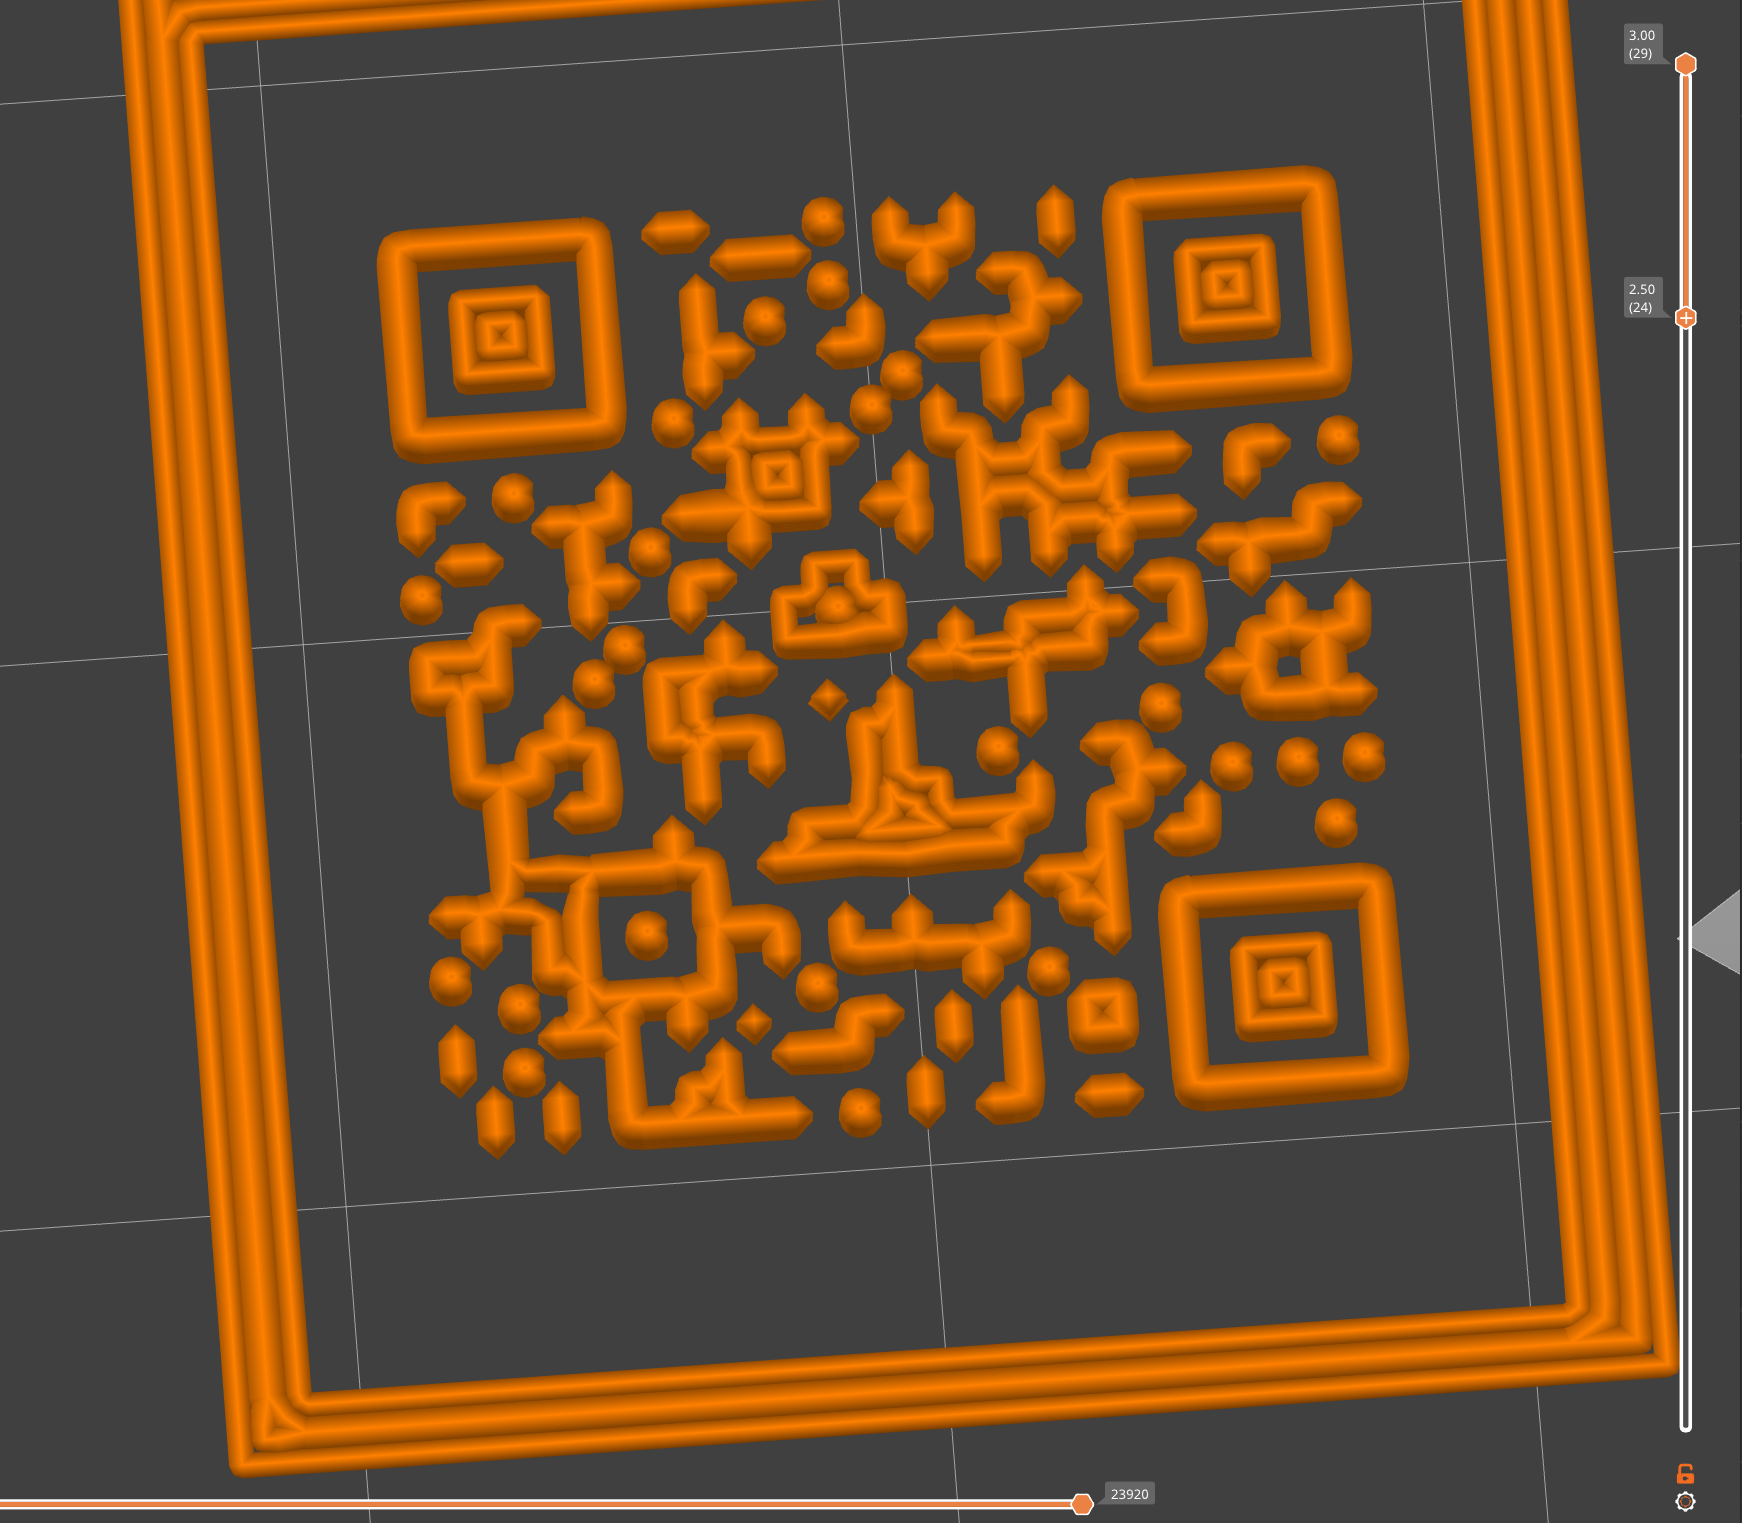
Example of resolution and slicer issues with QR code. Best results were from squares with sides over 40mm on Prusa Slicer.
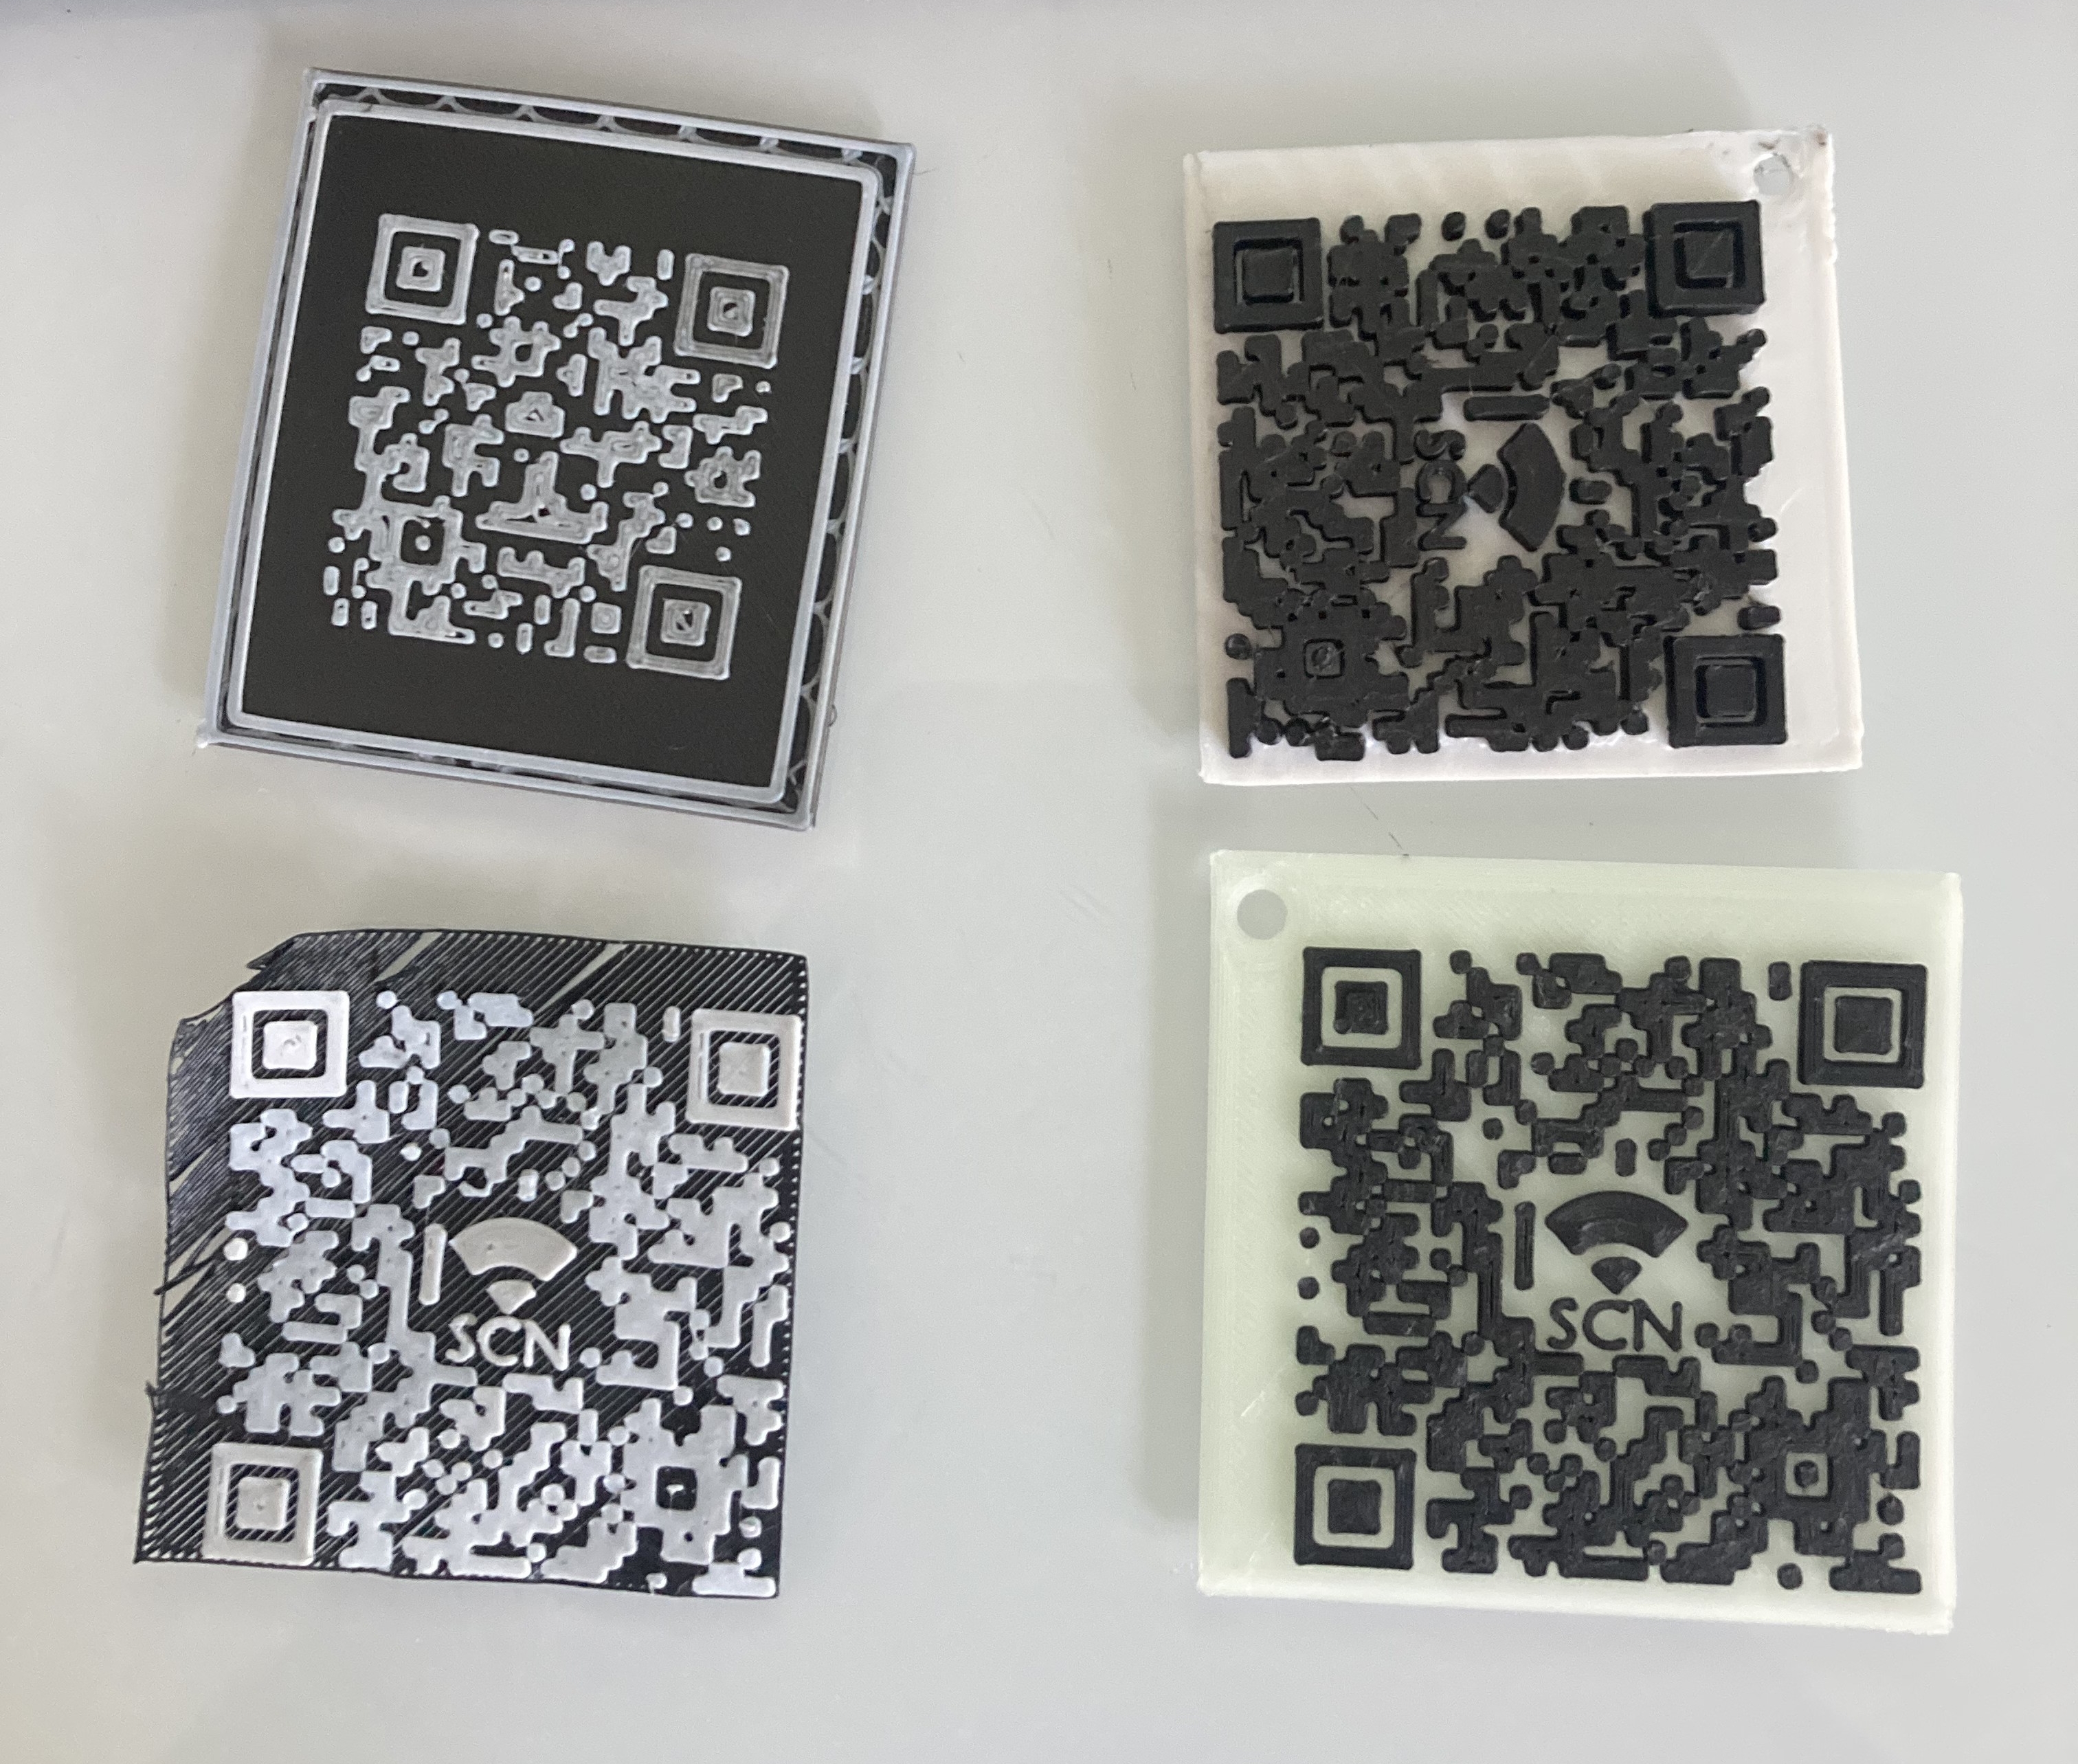
QR Code Progress from regular PLA to final design with GITD PLA in lower right corner.
Demonstrating how to print PETG with better clarity. Adjusted nozzle temperature to 265°C for most prints. Note: CNCKitchen achieved better clarity at 220°C without burning filament. He also advised that disabling cooling affects long-term durability.
CNC Kitchen's 3MF used as a template for clear SCN tags.
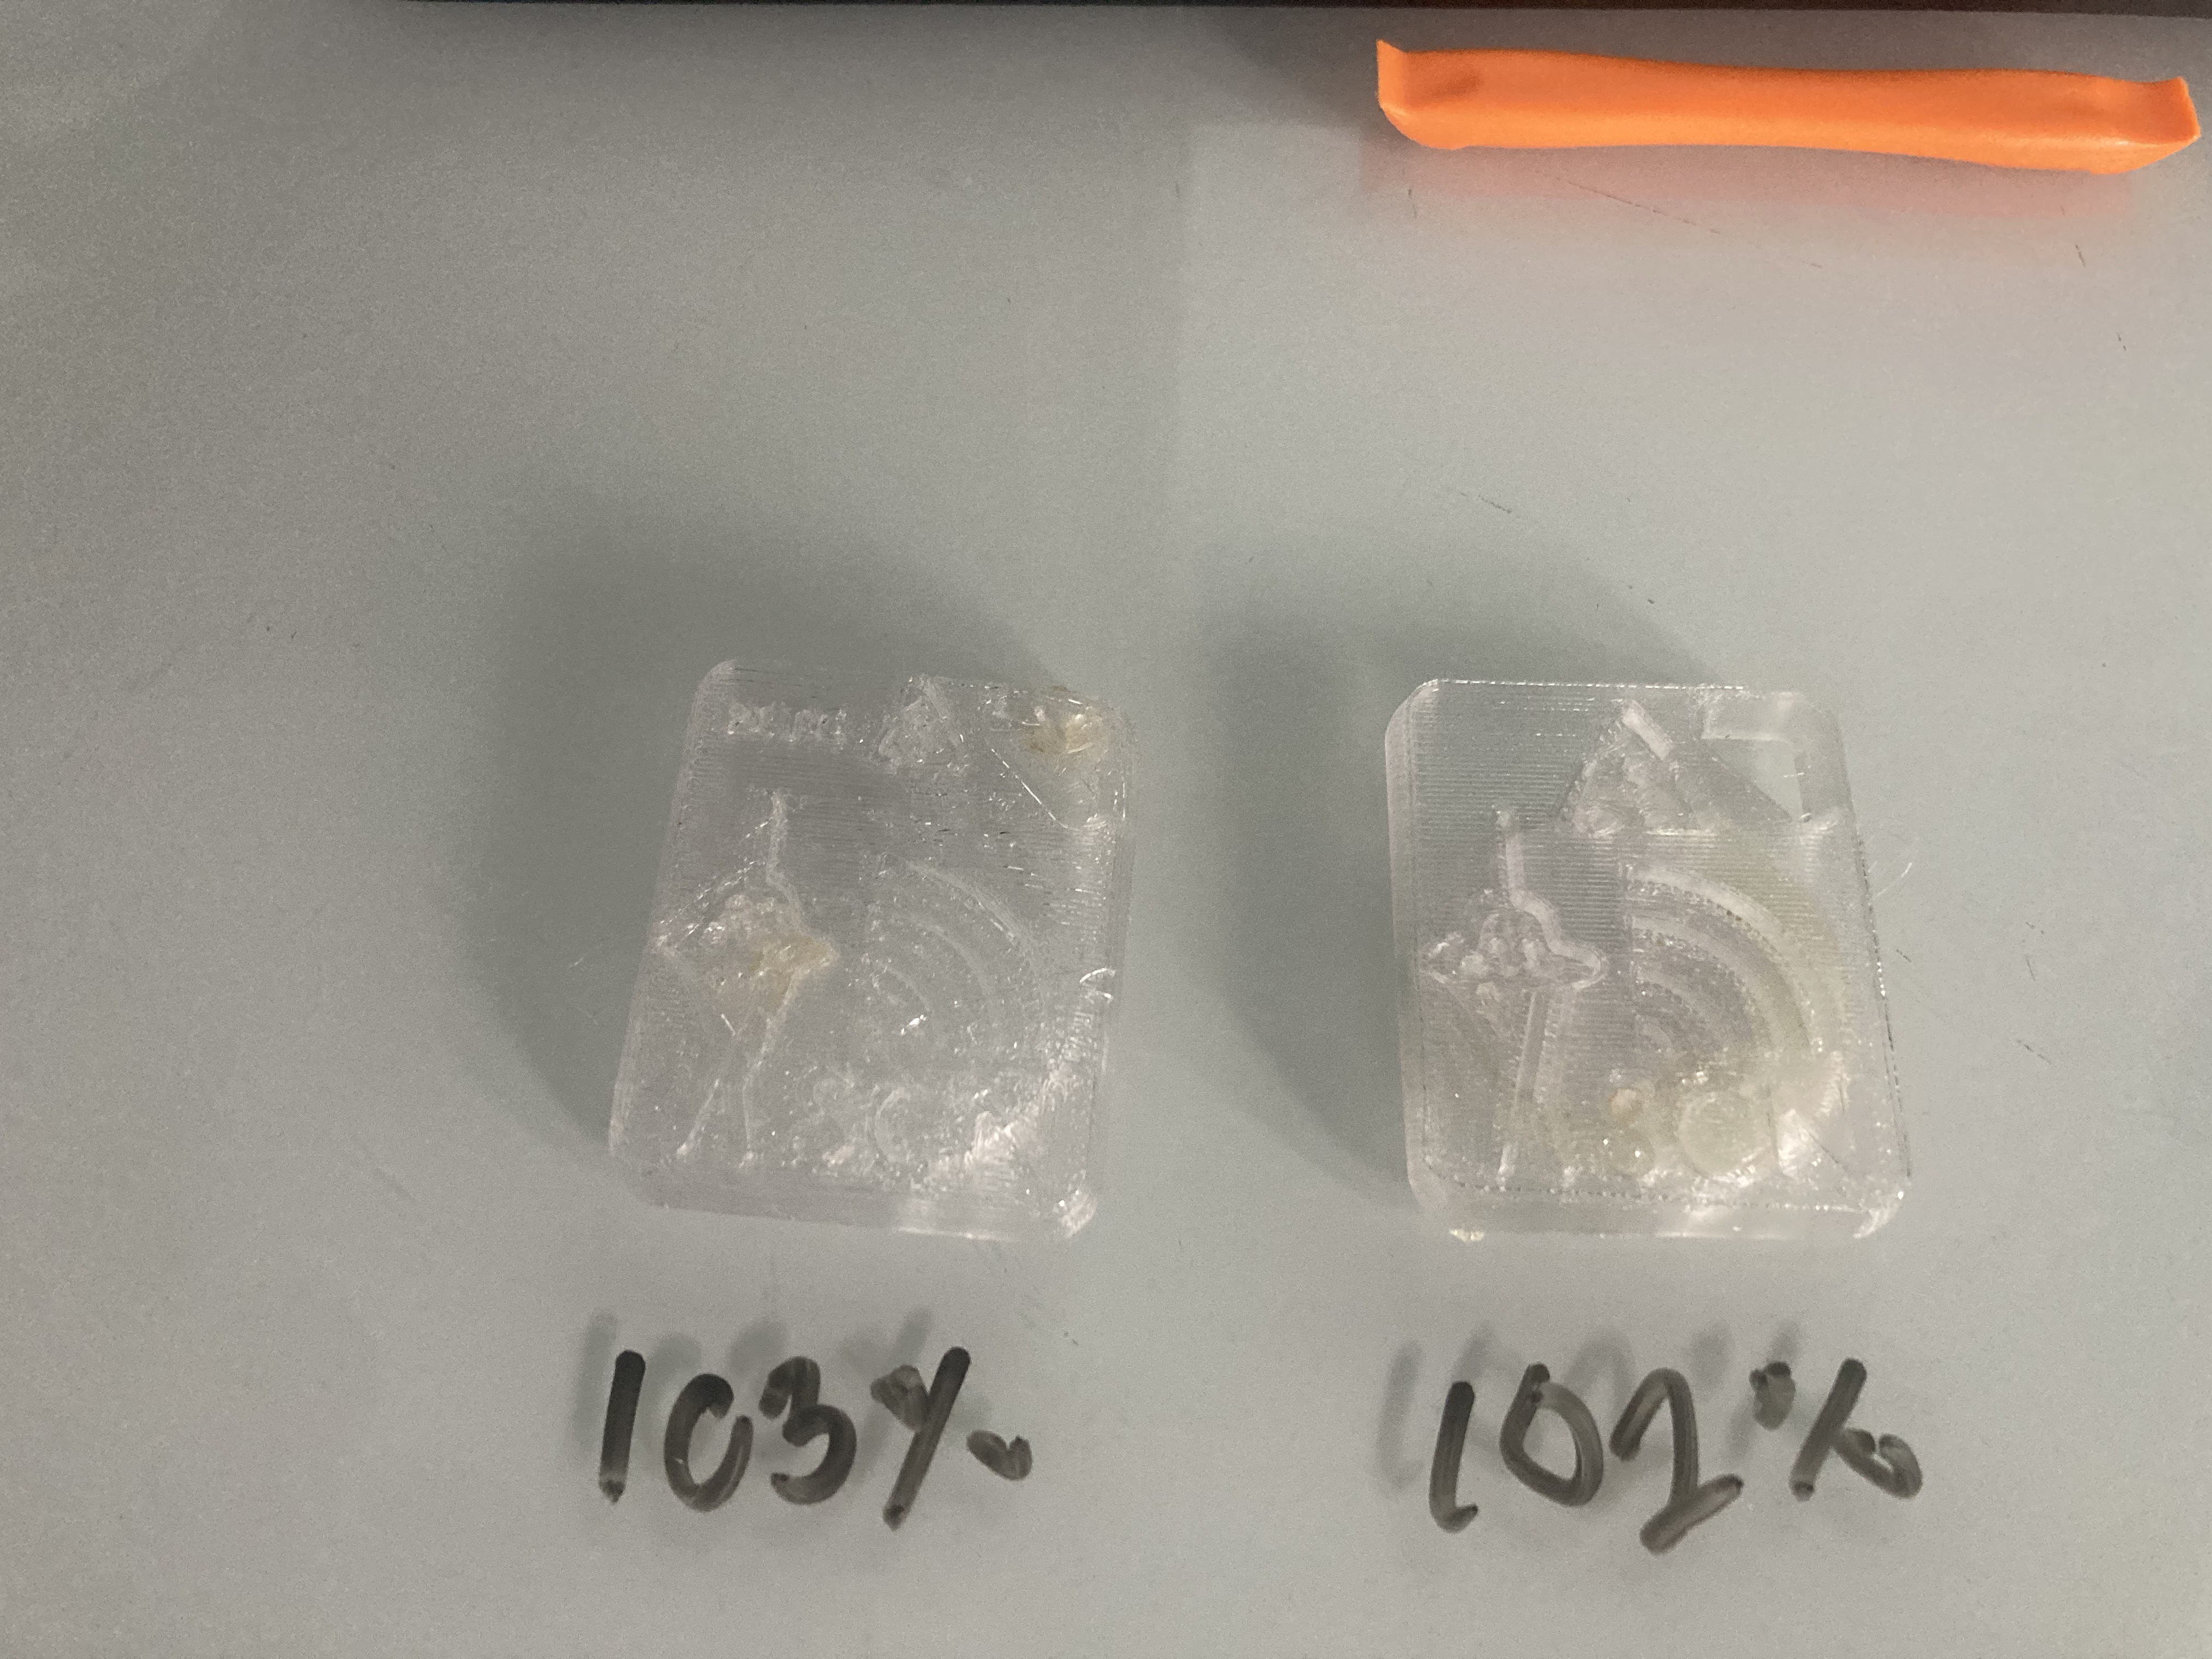
Demo of upping flow rate to reduce air bubbles. At 103% the logo begins to show flaws.
Inland Blue (100% flow rate), Overture Clear (102% flow rate), IC3D Cherry (100% flow rate).
While most makers I meet are not concerned with air quality during PLA prints, this is something that I intend to research further. I decided that building an enclosure and air purifier would both be good practice.
Lack Enclosure STL files
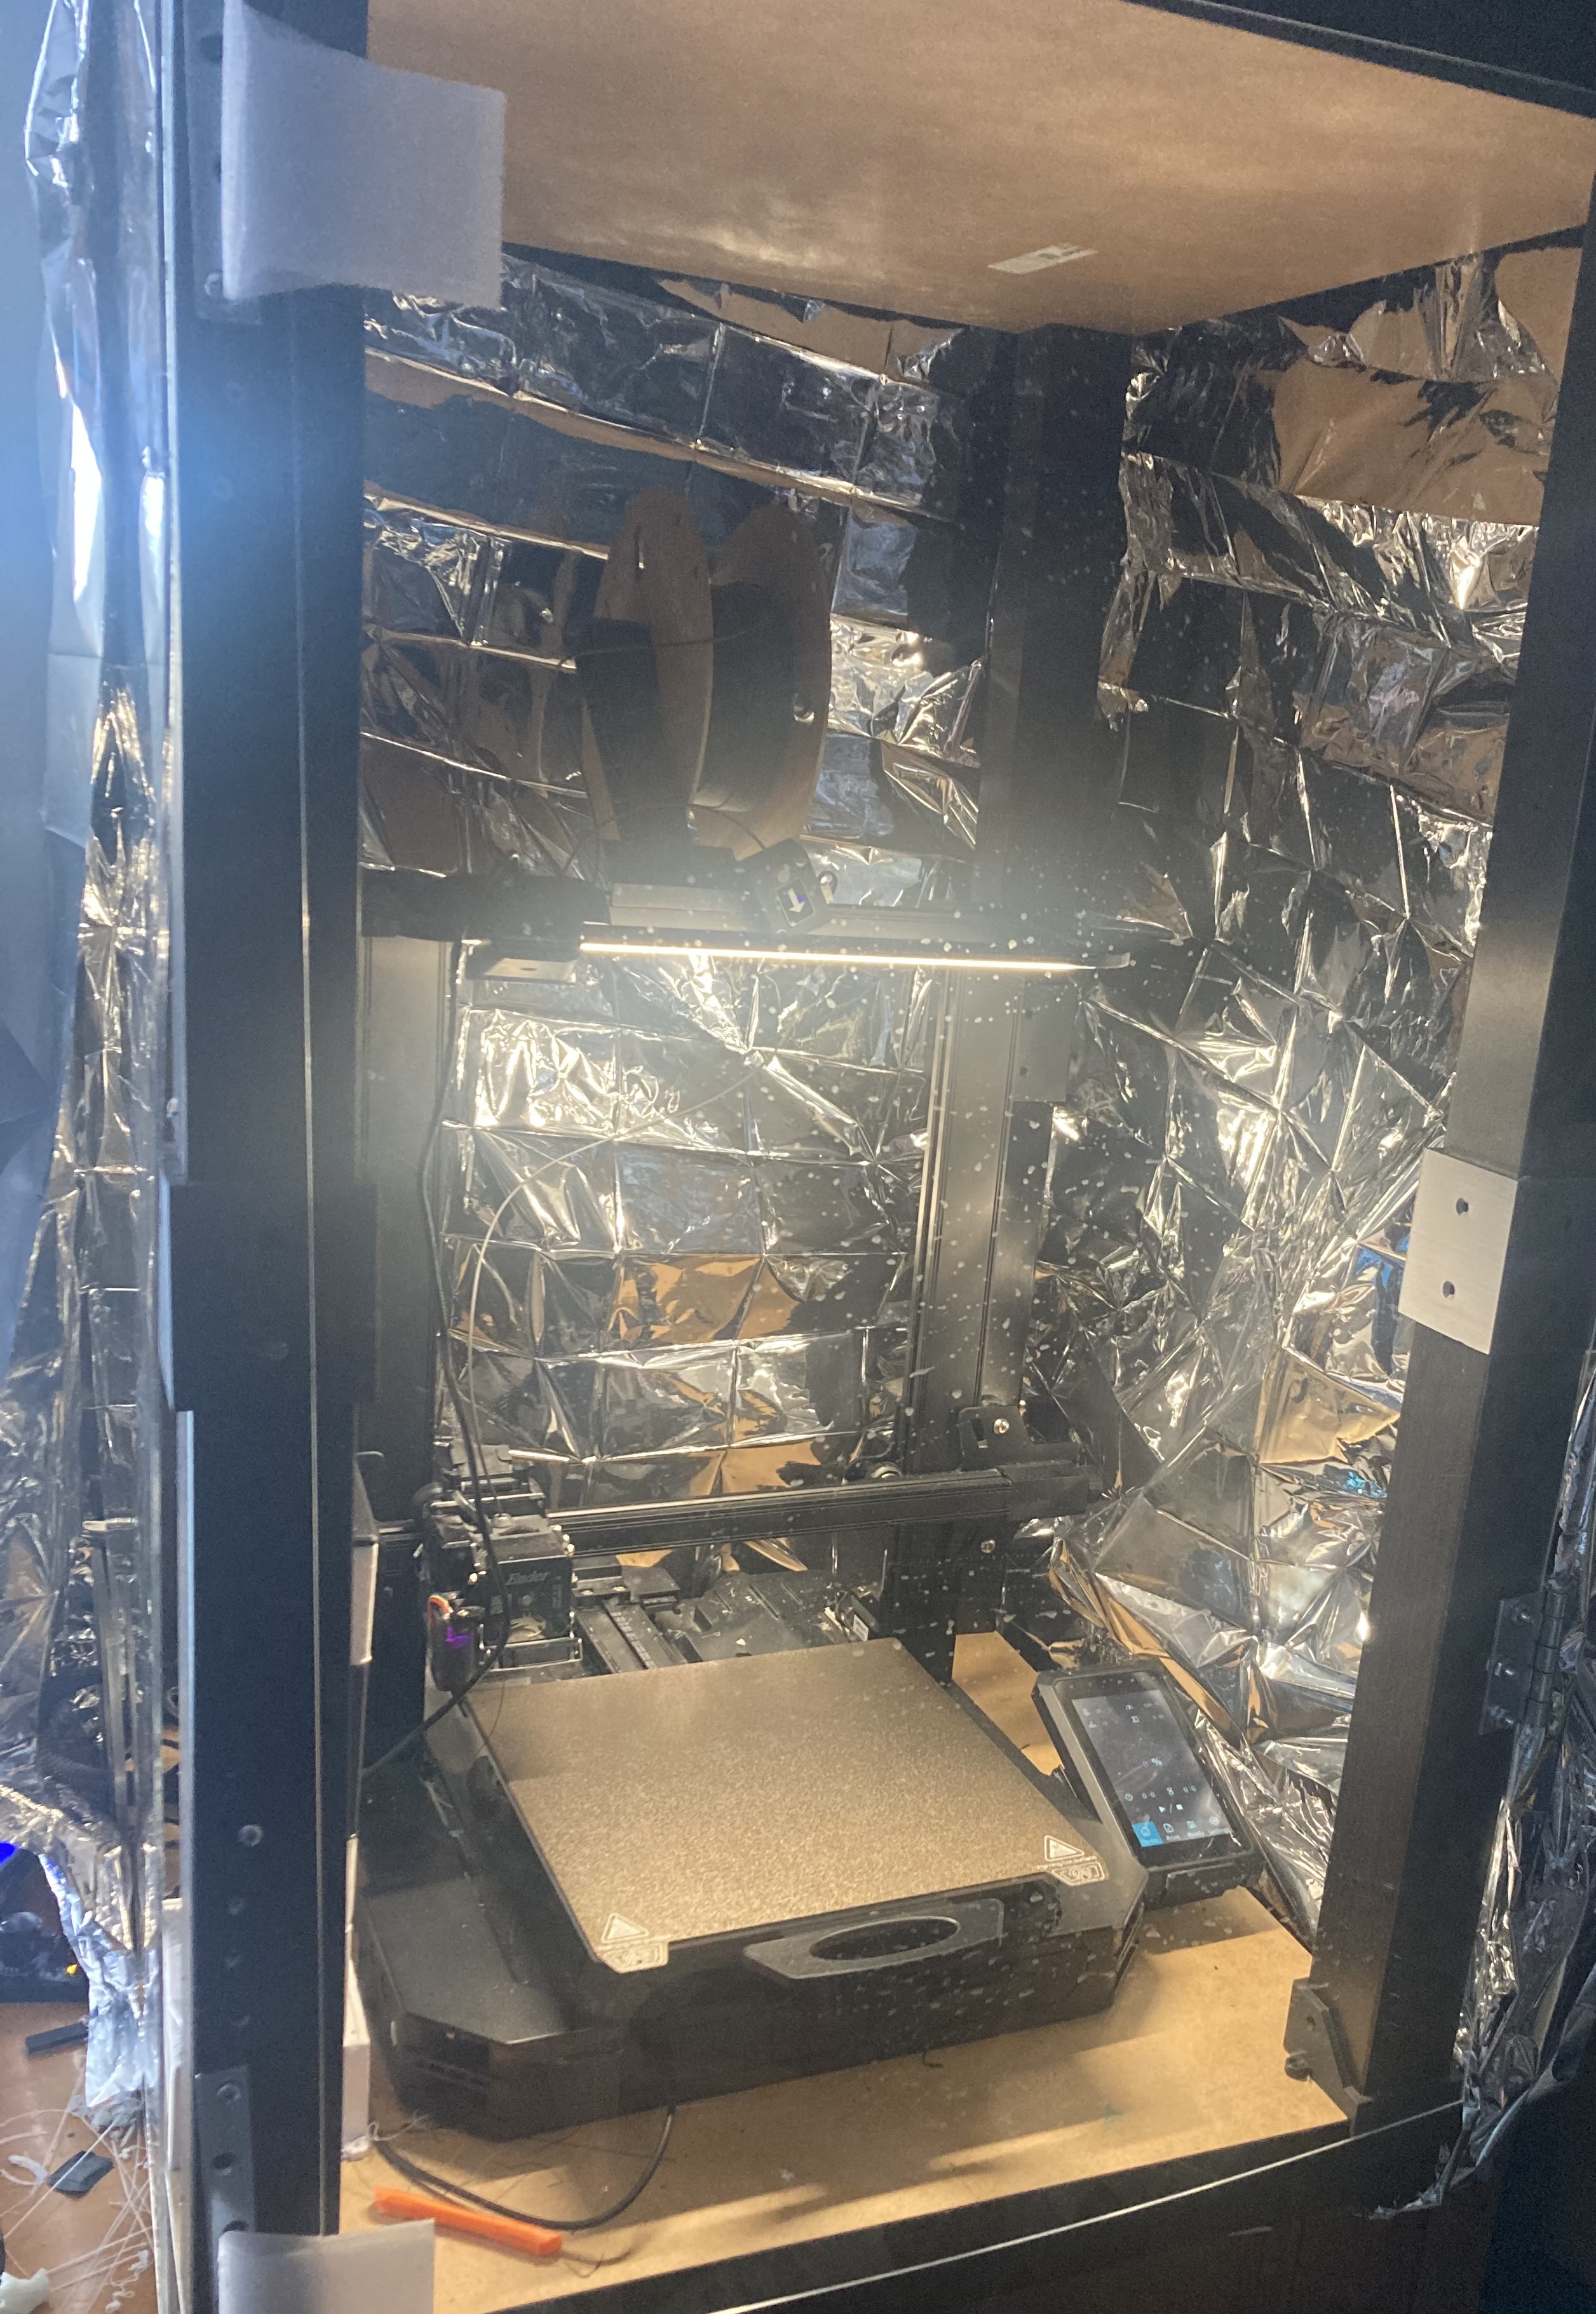
This was my first attempt at an Ikea Lack enclosure. Initially I tried to apply weather stripping to the door to get a better seal. This is going to require a redesign of the printed couplers in order to hold the gasket flush though.
Second acrylic panel added with PETG door handles. I used a soldering iron to heat insert magnets for an easy locking mechanism.
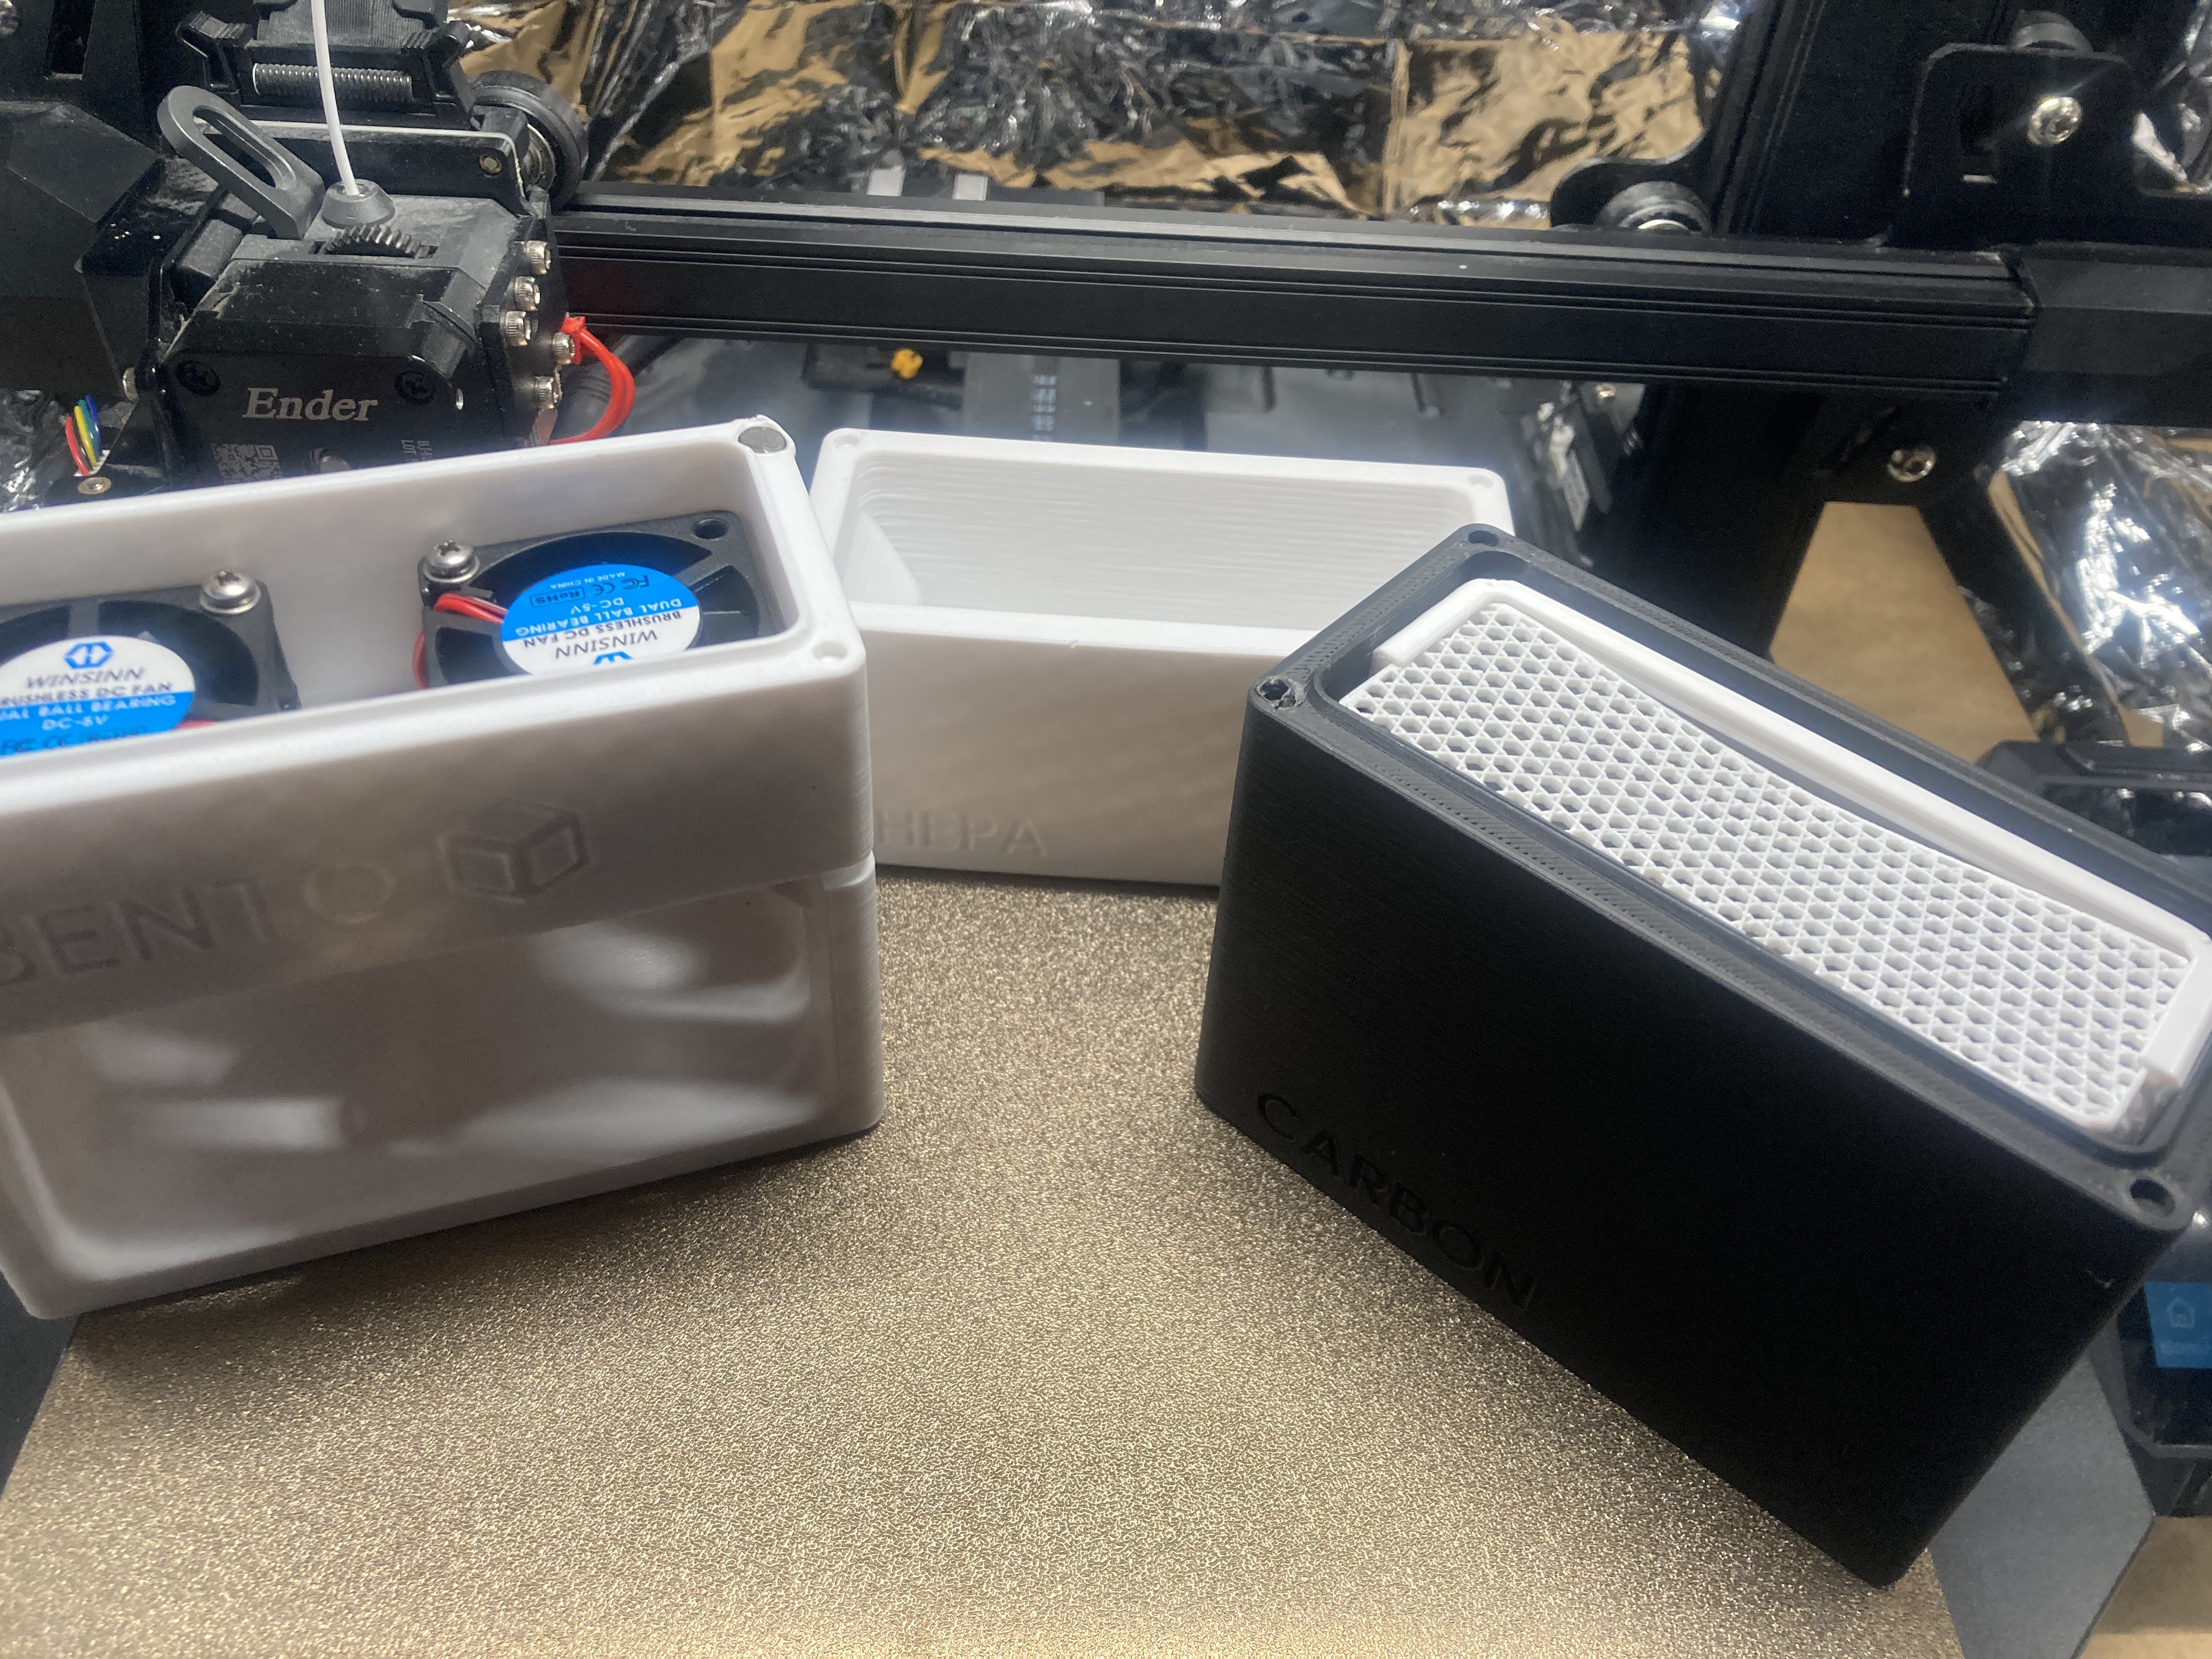
Open display of the fan duct and carbon filter cases for the BentoBox purifier.
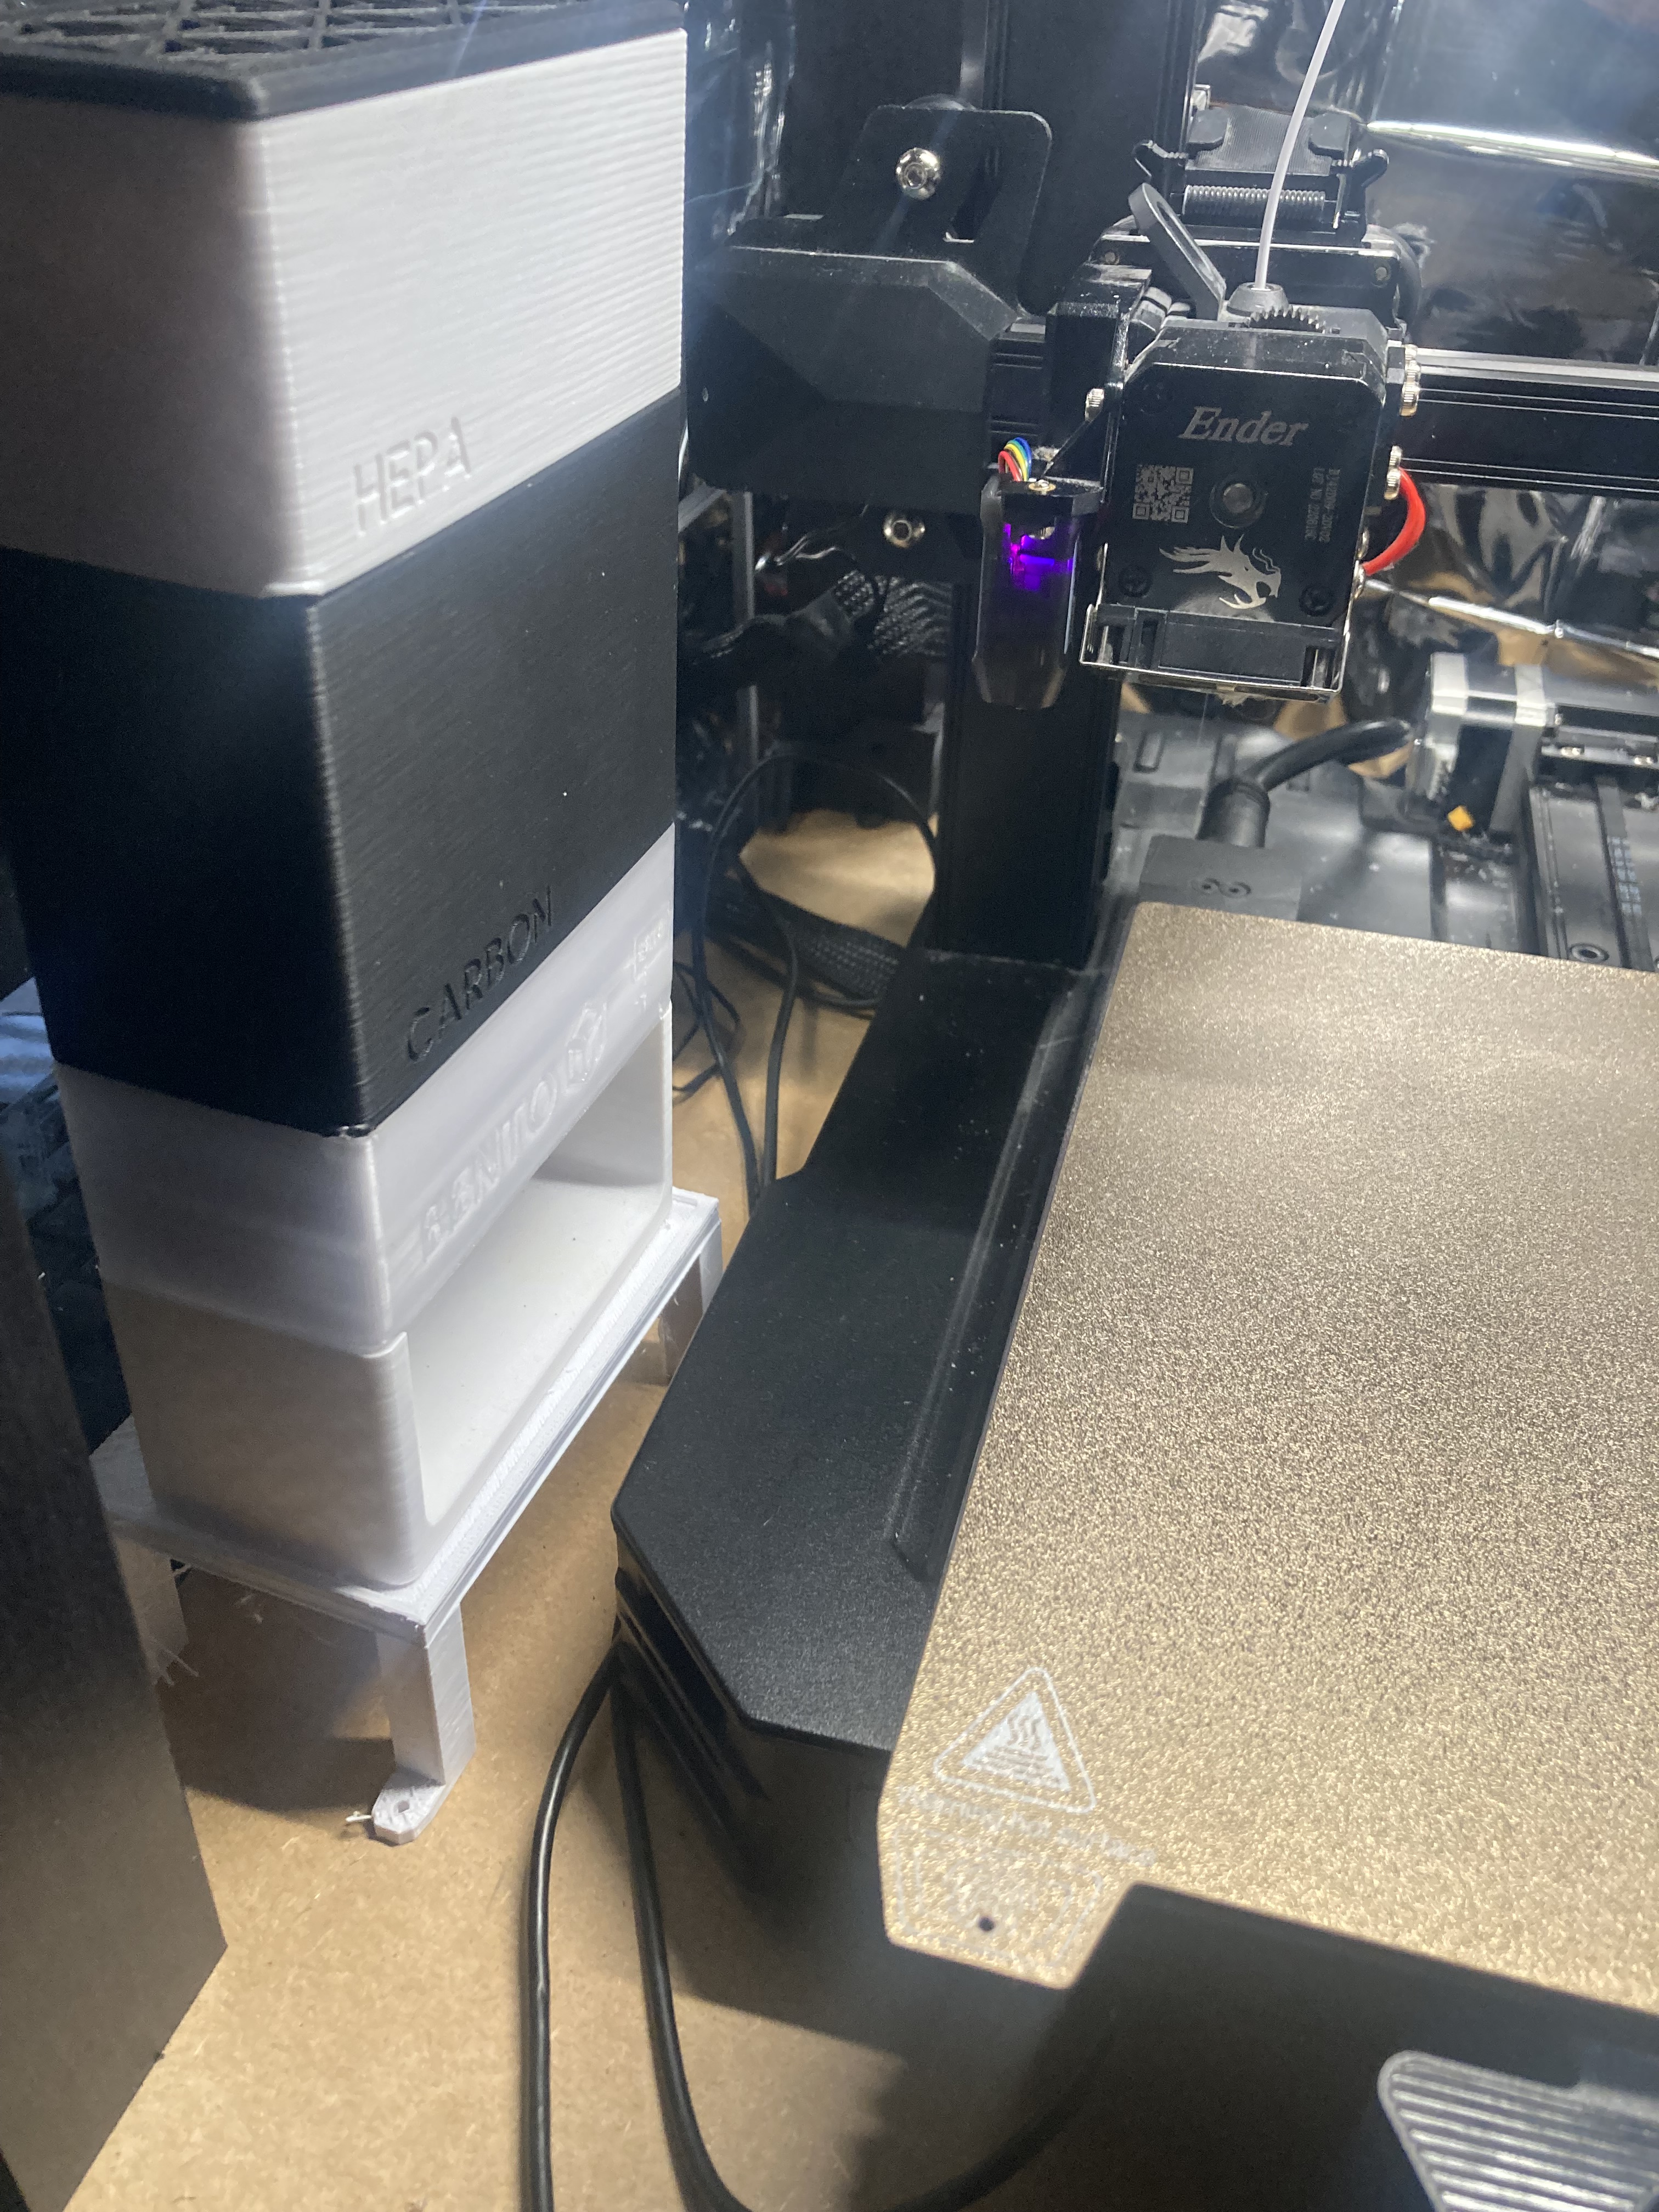
The fan case printed in clear PETG, while the rest is PLA. Eventually I intend to replace all parts with PETG for better heat resistance.
Upgraded the 4020 fans to the very loud 4028 fans to increase airflow through the hepa filter.
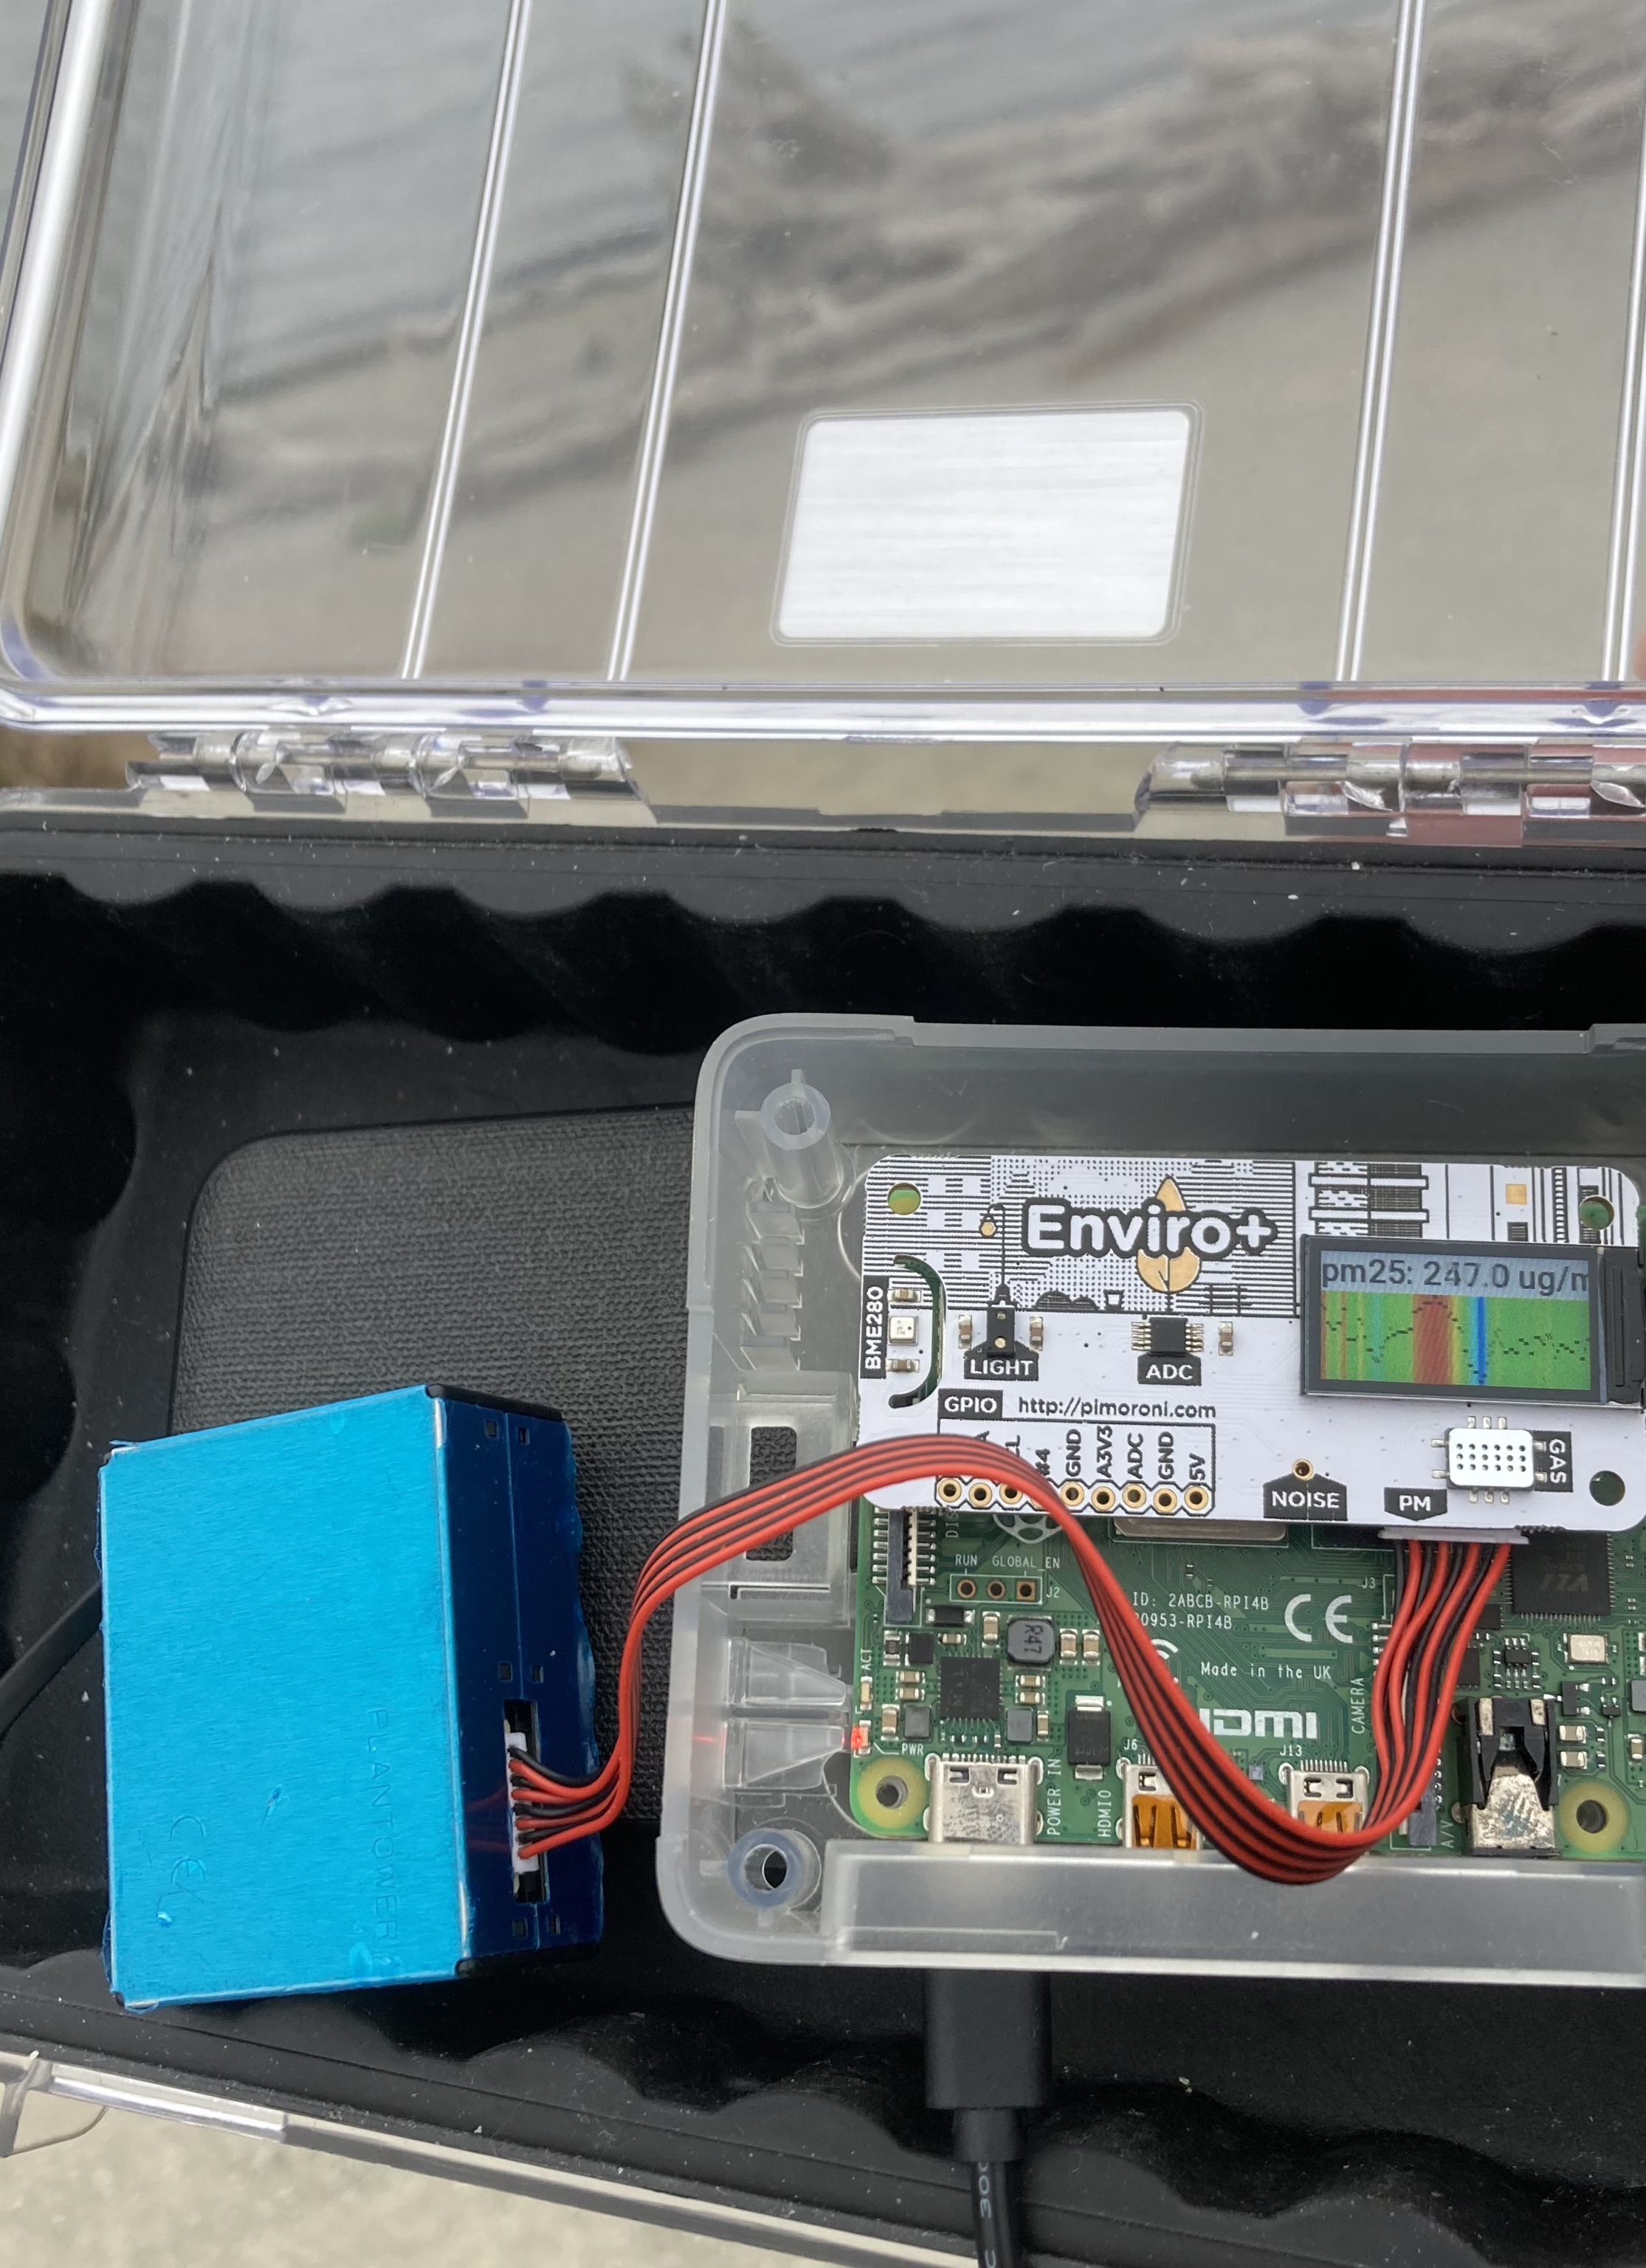
Older photo of the air quality sensor displaying the air polution outside. The goal is eventually to set this up on OctoPrint to monitor VOCs during prints as a proof of concept. It is unclear whether or not the PM2.5 sensor is precise enough to detect printer dust.
More categories coming soon: OctoPrint integrations and quality control.